1. Connecting Your Teya Account
2. Connecting a Terminal to Loyverse POS
3. Configuring the Teya Terminal
4. Processing Payments
5. Processing Refunds
6. Viewing Reports
Loyverse POS merchants in the United Kingdom, the Czech Republic, Iceland, Italy, and Spain can accept card payments through Teya. To get started, you’ll need to register with Teya and receive a payment terminal.
1. Connecting Your Teya Account
Log in to your Back Office.
Go to Settings > Payment types.
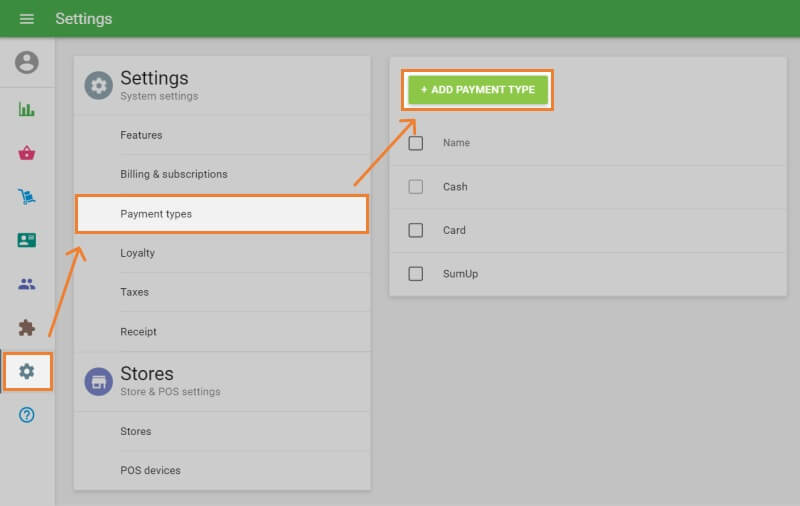
Click the ‘Add payment type’ button.
From the drop-down list, select ‘Teya’.
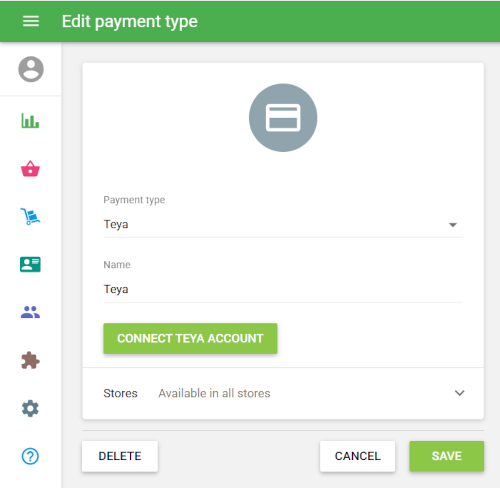
Click ‘Connect Teya account’.
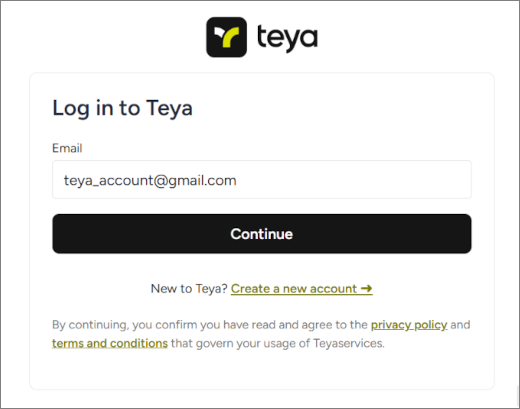
On the Teya login screen:
Enter your email and password to connect your Teya account.
Once connected, you’ll see a confirmation in the Back Office.
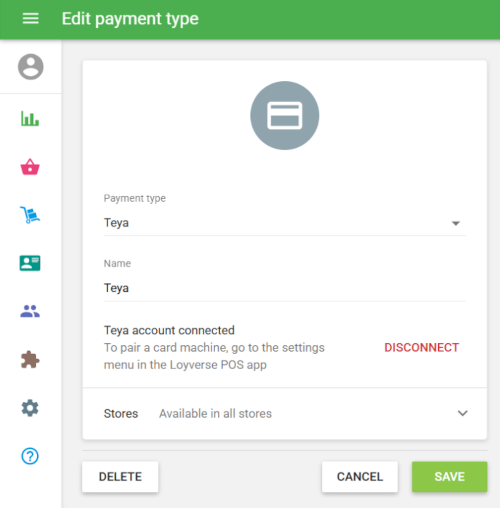
Note: If you disconnect your Teya account, all paired terminals will be unpaired from the POS devices.
2. Connecting a Terminal to Loyverse POS
Open the Loyverse POS app.
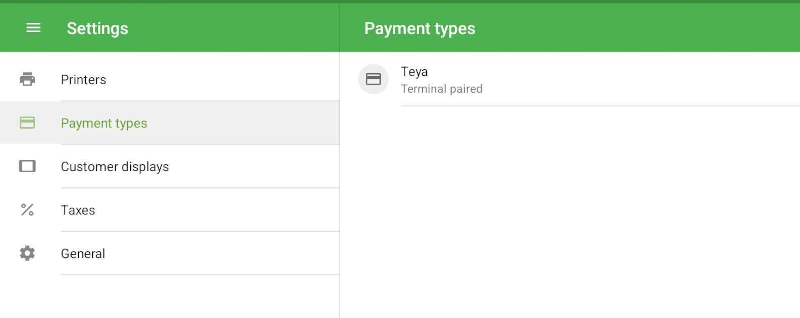
Go to Settings > Payment Types.
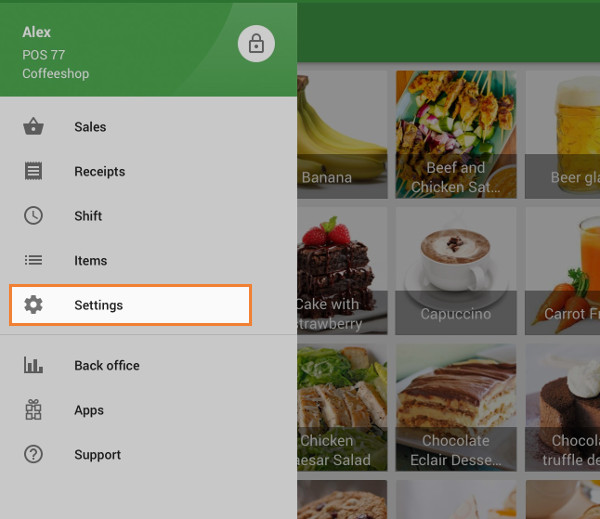
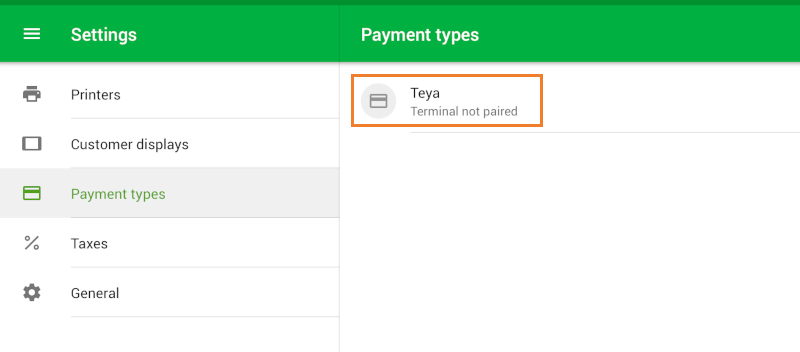
Tap on the Teya payment type to begin pairing.
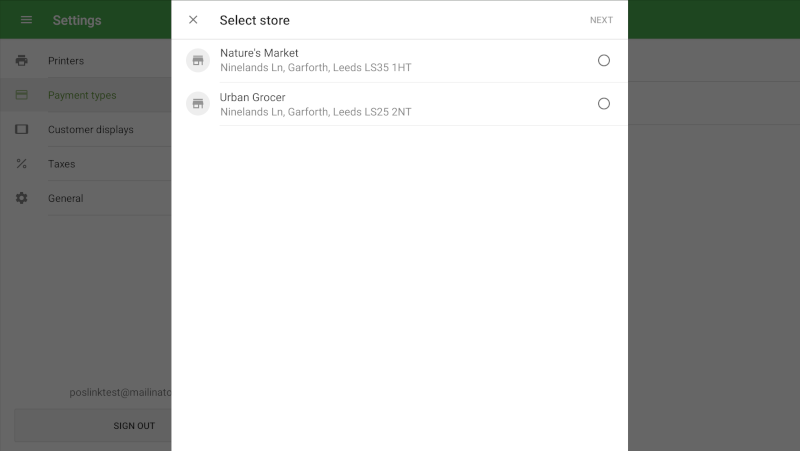
If your Teya account includes multiple stores, select the appropriate one and tap ‘Next’.
Choose a terminal from the list or search by serial number.
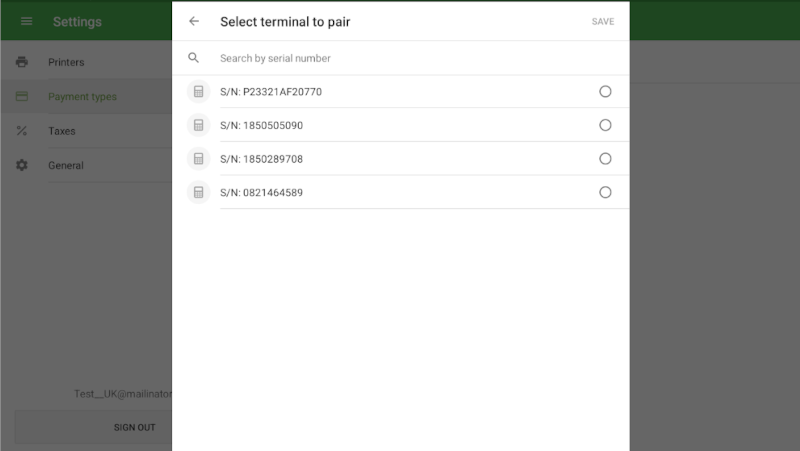
Tap ‘Save’.
The pairing status will appear next to the Teya payment type in the list.
3. Configuring the Teya Terminal
On your Teya terminal:
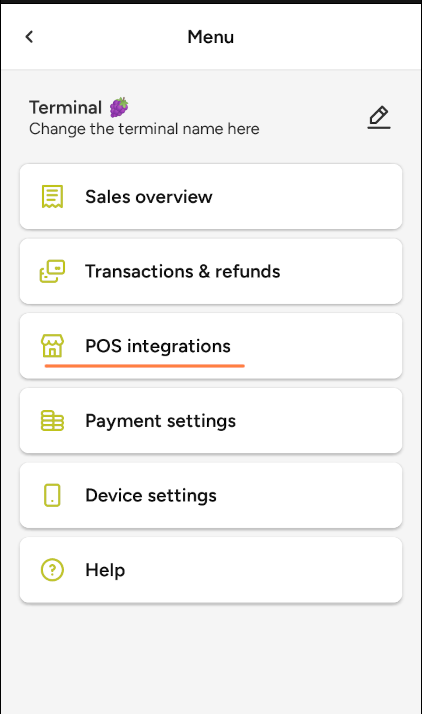
Open the Menu > POS integrations.
In External device integrations, ensure ‘Cloud communication’ is selected.
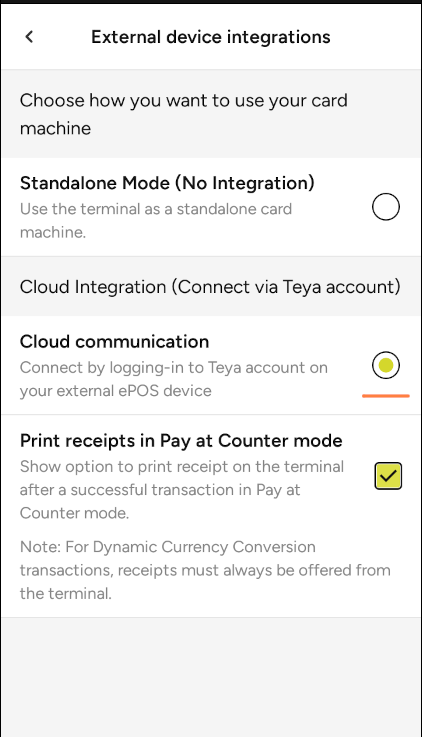
Optional:
Enable ‘Print receipts in Pay at Counter mode’ if you want the option to print the merchant receipt after a transaction.
4. Processing Payments
Ensure the Teya terminal is connected to the Internet via Wi-Fi.
To Accept a Card Payment:
Add items to the ticket and tap ‘Charge’.
Select Teya as the payment method.
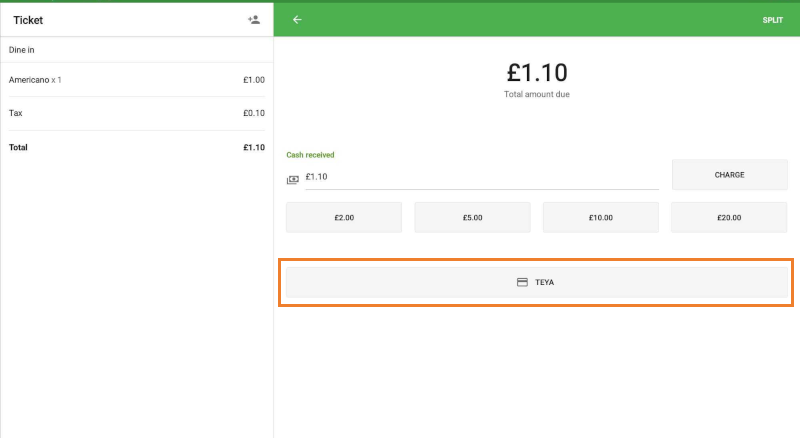
The terminal will prompt the customer to insert, swipe, or tap their card.
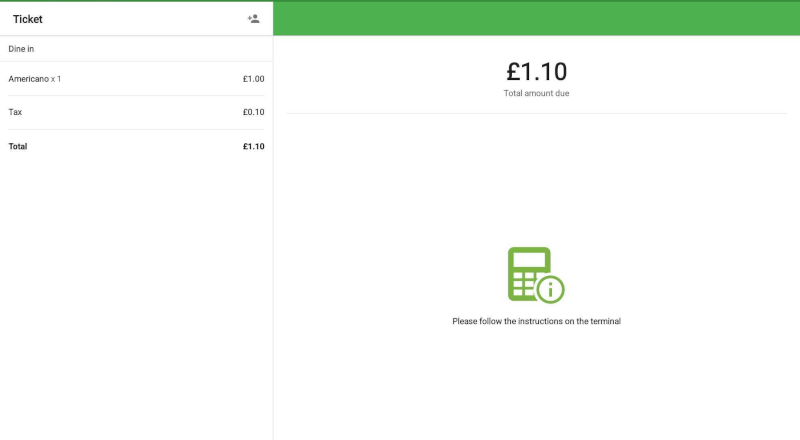
If the payment is successful:
Loyverse POS will show the Total paid amount.
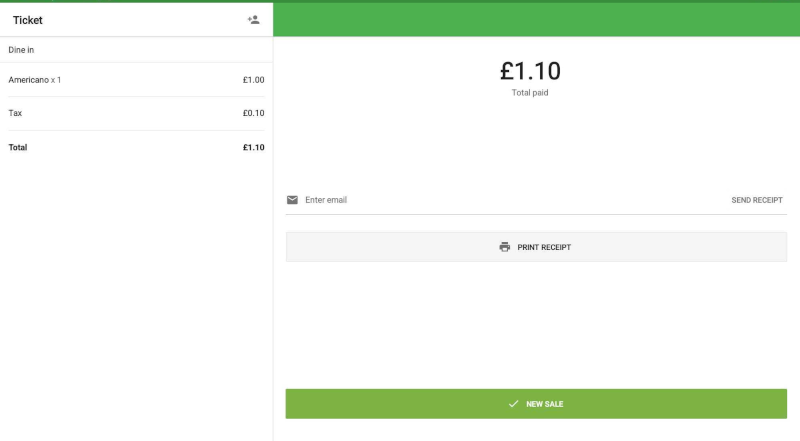
- You can print the receipt, email it to the customer, or start a new sale.
If the transaction fails:
A message will display on the POS.
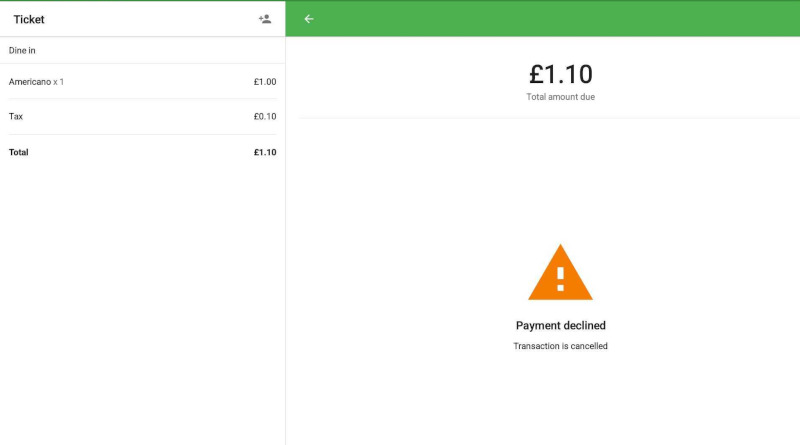
- You can return to the payment type selection screen to retry or choose an alternative payment method (e.g., cash).
5. Processing Refunds
In the Loyverse POS app, go to the ‘Receipts’ menu.
Tap the receipt you want to refund.
Tap ‘Refund’.
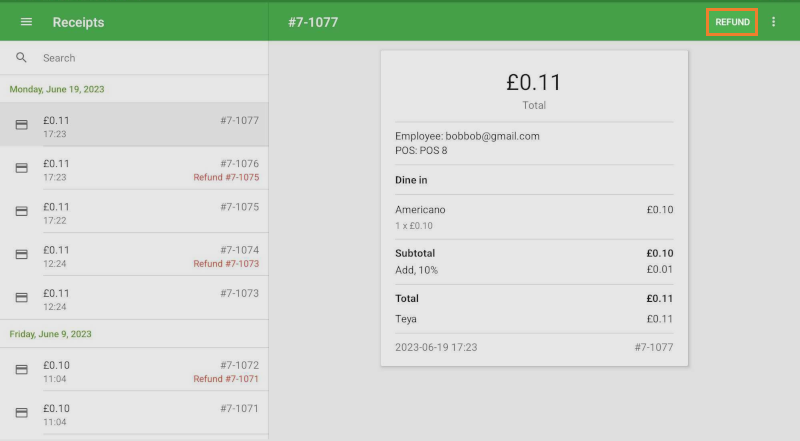
Select the items to refund (they will move to the right side of the screen).
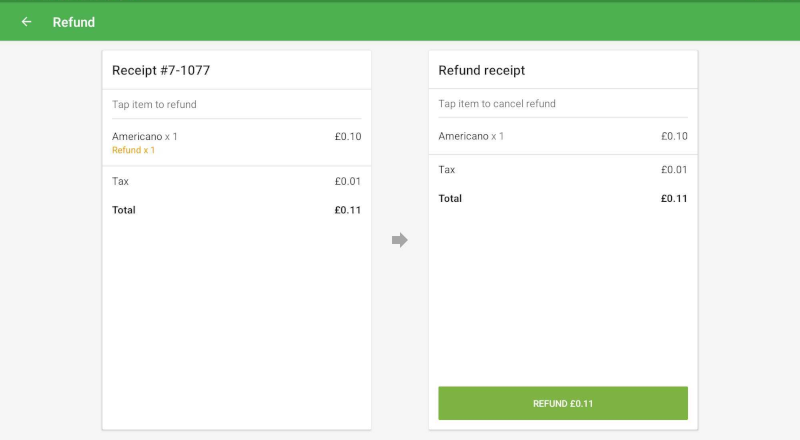
Tap the ‘Refund’ button.
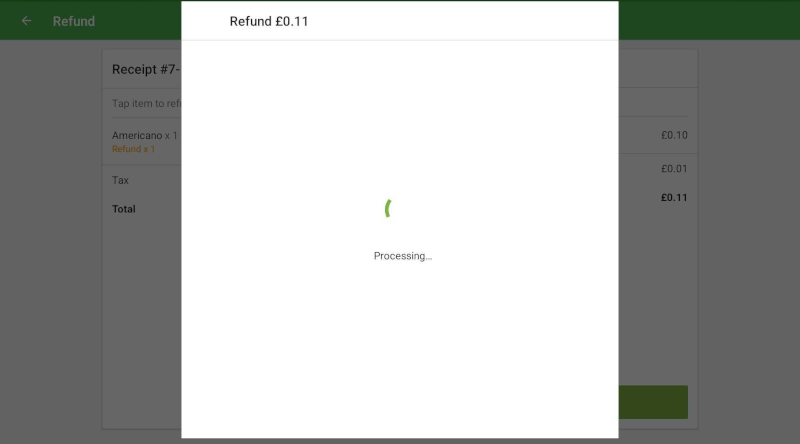
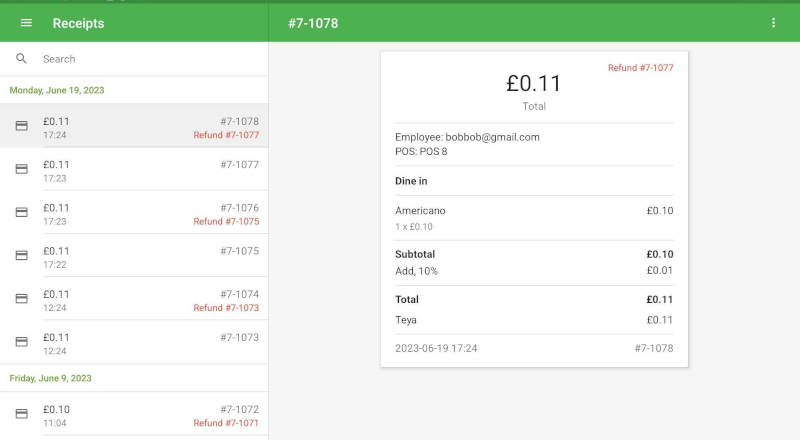
The refund will be processed through Teya, and the receipt will be marked as refunded.
6. Viewing Reports
To track card payments and refunds made via Teya:
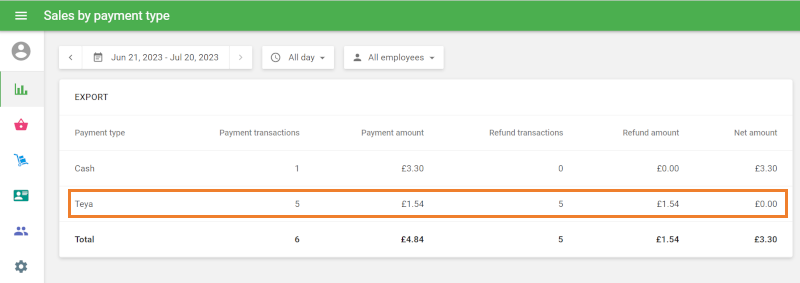
- Go to the Back Office > Reports > Sales by payment type.
- You’ll see the total number and amount of transactions handled through Teya.
See also: