Adding custom text to the header or footer of your printed receipts is a great way to personalize communication with your customers. You can include details like promotional messages, store policies, or other information.
Follow these steps to add text to your receipts:
Access Your Back Office: Log in to your Loyverse Back Office.
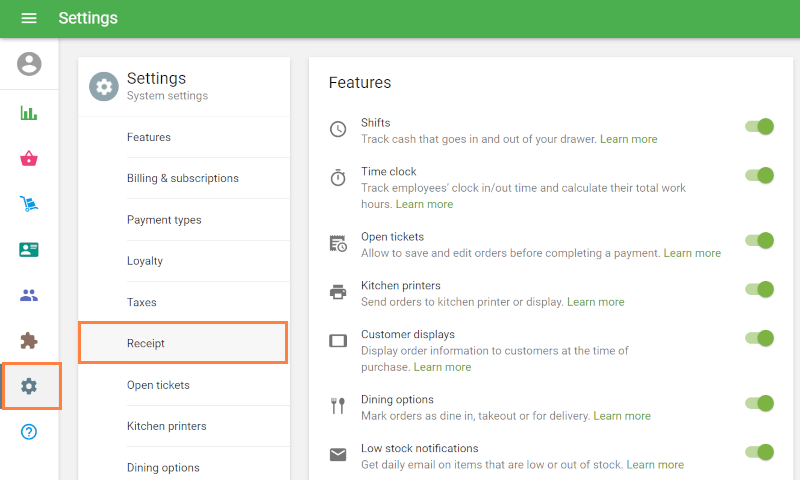
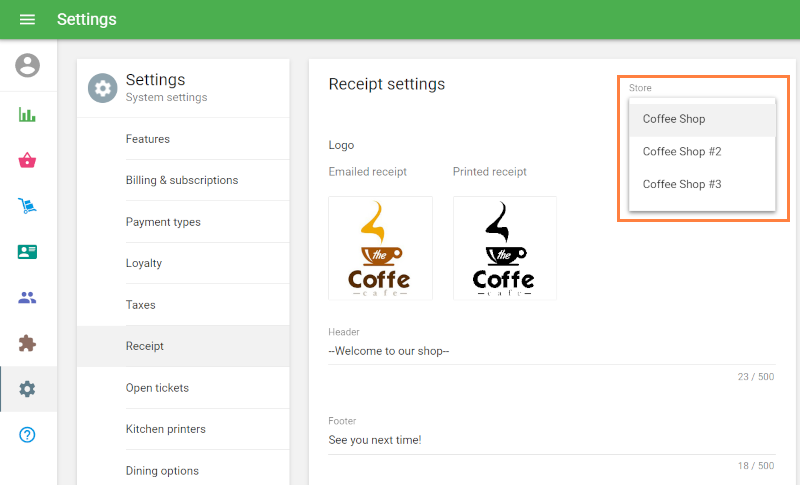
Navigate to Settings: In the main menu, select ‘Settings’ and then choose the ‘Receipt’ section.
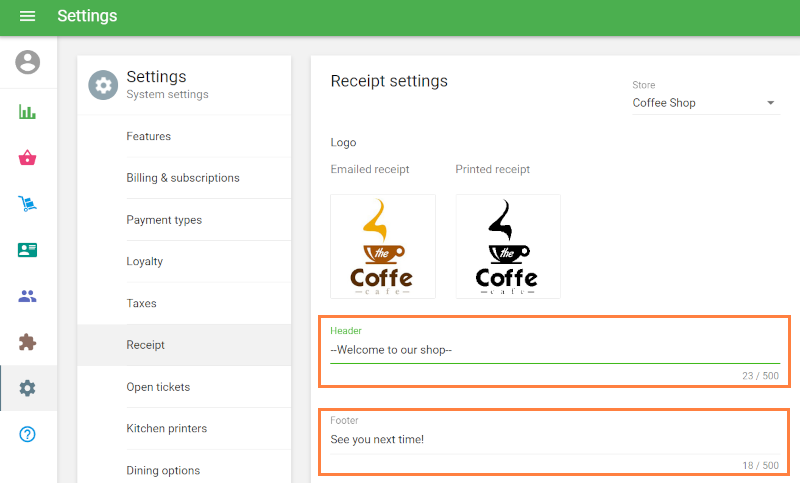
Customize the Header or Footer: In the ‘Header’ and/or ‘Footer’ fields, enter the text you want to appear on your printed receipts.
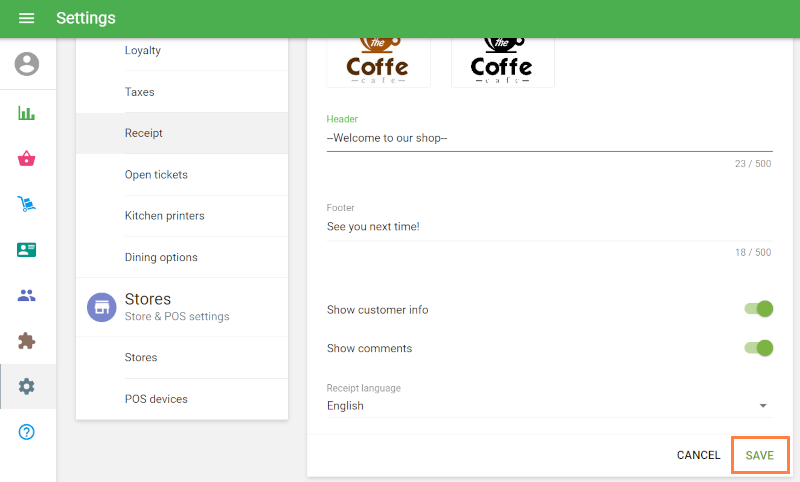
Save Changes: After entering your custom message, make sure to save the changes.
This text will now be printed on all receipts and will also appear in emailed receipts.
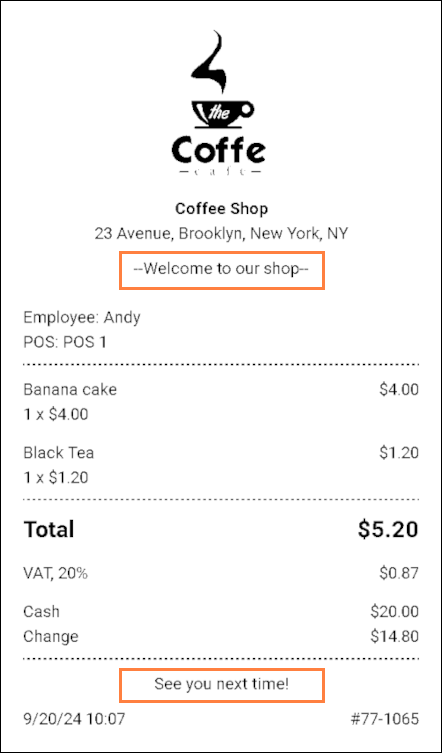
Note: The name and address of your store printed on the receipt are taken from the 'Store’ section in the Settings. Ensure that your store information is accurate there.
If you manage multiple stores, remember to set the receipt text for each store individually by using the store selector located at the top right of the page.
Your message will now be included on every receipt, enhancing the experience for your customers.
See also:
How to Add Logo to the Receipts