Adding a logo to your receipts helps personalize and brand your business communications. You can upload different logos for printed and emailed receipts directly from the Back Office.
Steps to Upload a Logo
Log in to the Back Office.
Navigate to Settings → Receipts.
You will see two upload sections:
- Logo for Emailed Receipts
- Logo for Printed Receipts
![]()
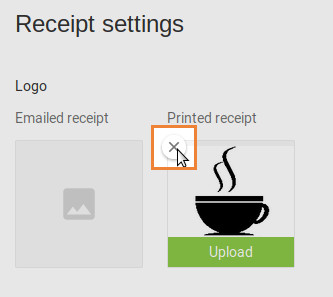
Logo for Printed Receipts
Upload an image file (preferably black and white) for your printed receipts.
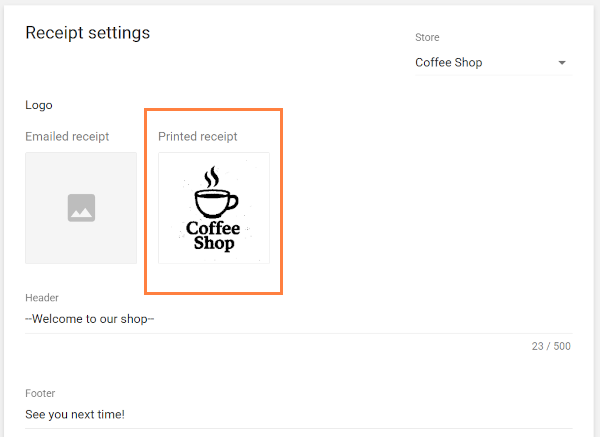
If you upload a color image, the system will automatically convert it to black and white.
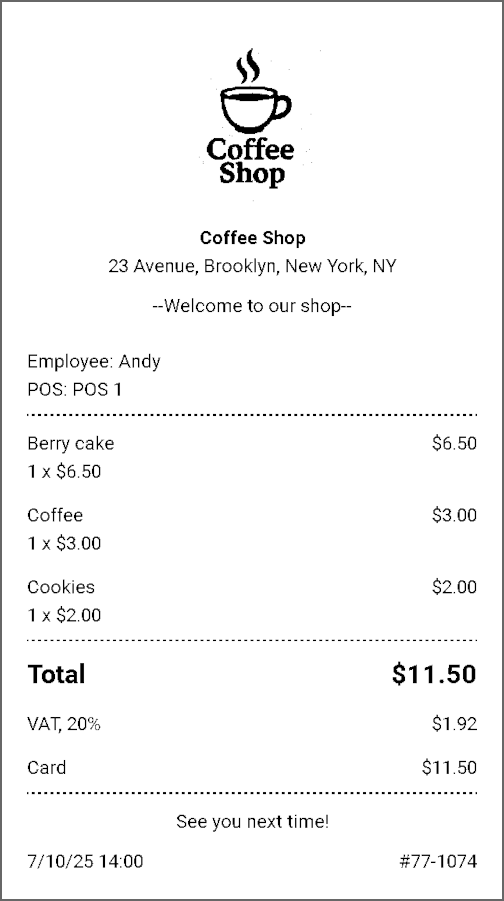
The logo will appear at the top of each printed receipt.
Note: Your logo will not appear on printed receipts if text mode is enabled in your Advanced Printer Settings.
Logo for Emailed Receipts
Upload a color image for better appearance in email receipts.
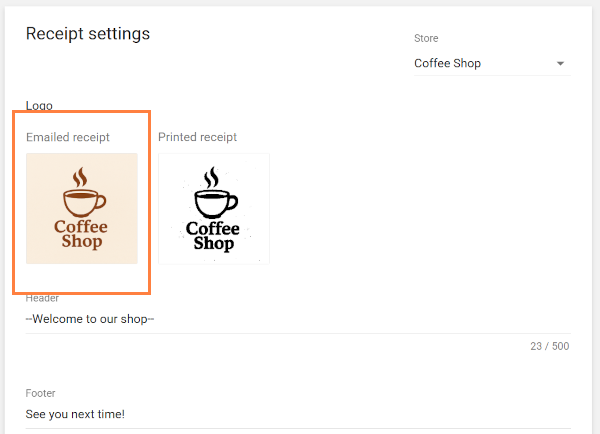
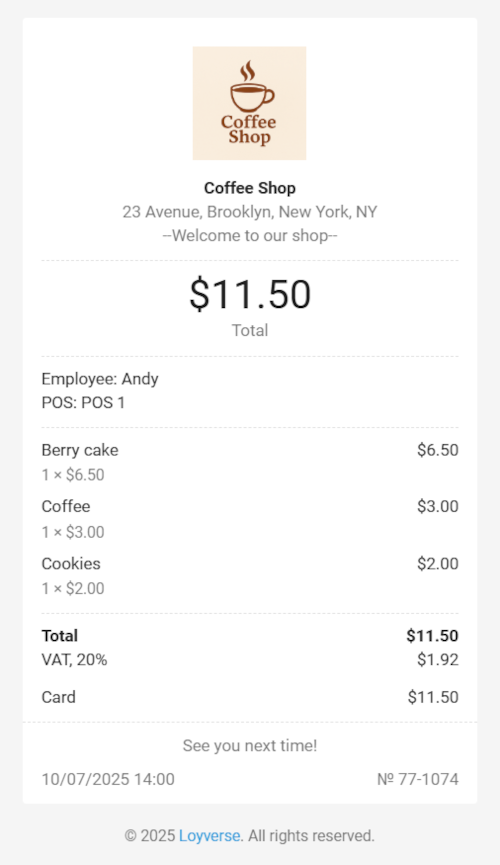
The logo will be displayed in the email that your customer receives after a sale.
Multi-Store Setup
If you manage multiple stores, repeat the steps above for each store:
- Use the drop-down menu at the top-right of the ‘Receipt’ settings screen to select a store.
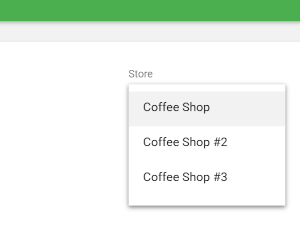
- Upload logos separately for each store.
- Don’t forget to save changes after each upload.
To Remove a Logo
If you no longer wish to display a logo:
Go to the logo section for the relevant store and click the delete icon.
Save your changes.
Now, your printed and emailed receipts will include your store’s logo, giving them a professional and branded look.
See also: