Setting up taxes correctly in Loyverse Back Office ensures that your receipts reflect the appropriate rates for your products and services. Follow these simple steps to create and manage tax settings for your store.
1️. Log In
Sign in to your Loyverse Back Office account.
2️. Navigate to Tax Settings
Click on the ‘Settings’ menu.
Then, go to the ‘Taxes’ section.
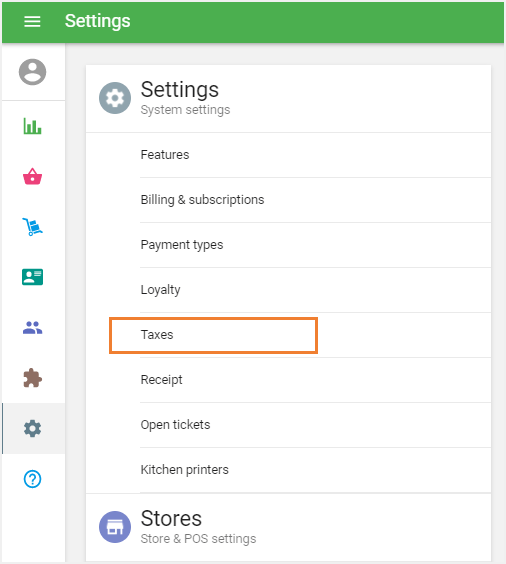
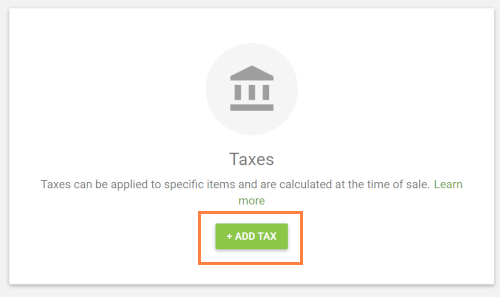
3️. Create a New Tax
Click the ‘Add Tax’ button.
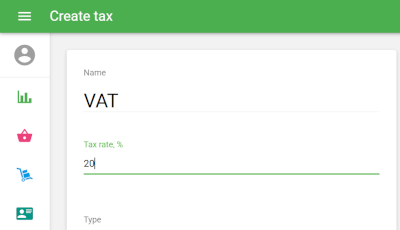
4️. Fill in Tax Details
Name your tax (e.g., VAT, Sales Tax, etc.).
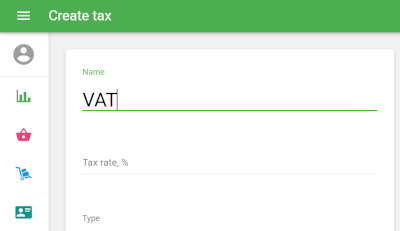
Enter the Tax Rate as a percentage (e.g., 20%).
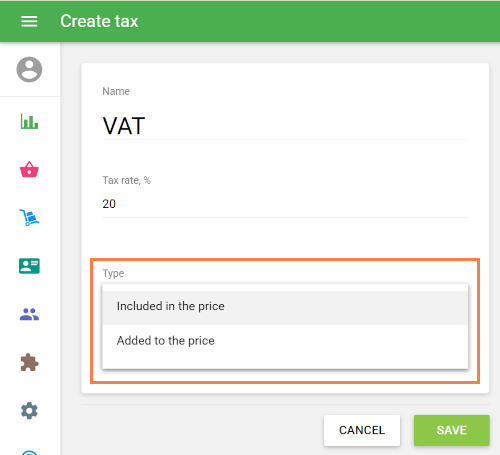
5️. Choose Tax Type
Select one of the following options:
- Included in the price – The item price already includes tax.
- Added to the price – Tax will be added to the item price at checkout.
Tip: See the guide How Taxes are Calculated for more details on tax types and how they affect pricing.
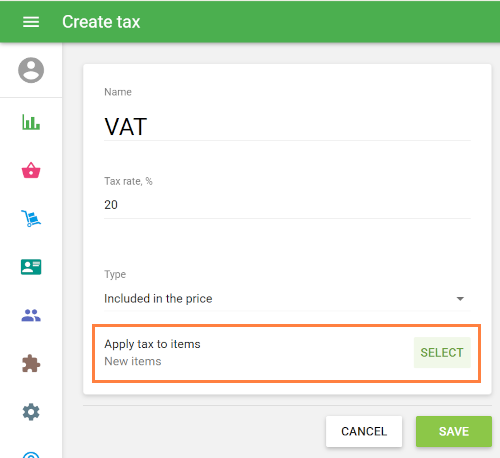
6️. Assign Tax to Items
Click the ‘Select’ button at the ‘Apply tax to items’ line.
In the ‘Apply tax to items’ window, select items to which the tax should apply.
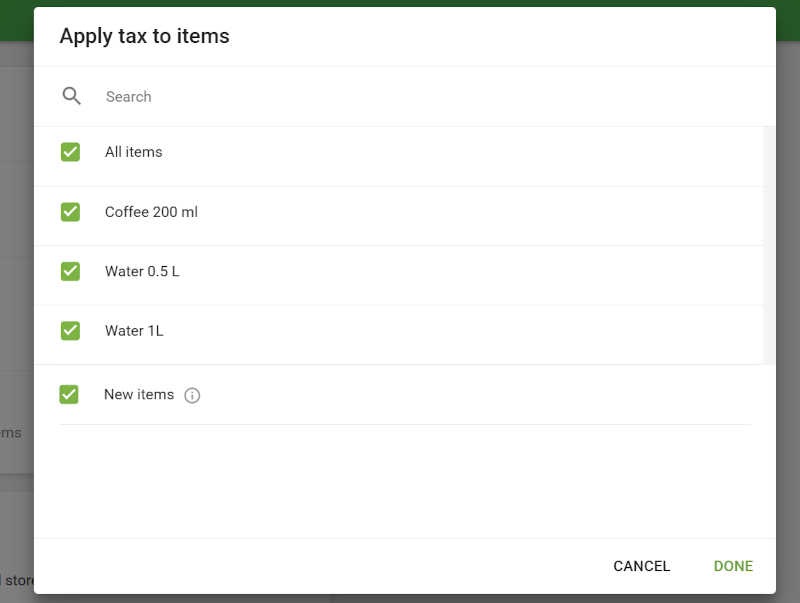
Use the search bar to quickly find items by name.
You can also choose to apply the tax to:
- All existing items (enable the checkbox at the top of the list)
- New items automatically (enable the checkbox at the bottom of the list)
Click ‘Done’ to apply and save your tax settings.
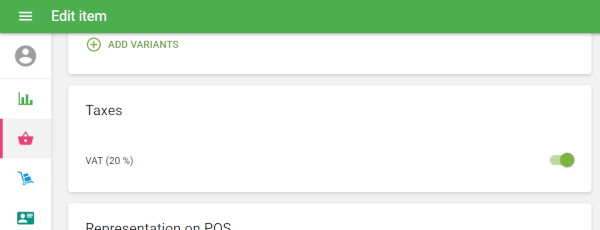
Note: You can also enable or disable a tax for a specific item by editing the item card.
7️. Apply Tax by Store (for Multi-Store Accounts)
If you have multiple stores, choose the specific store(s) where this tax should apply.
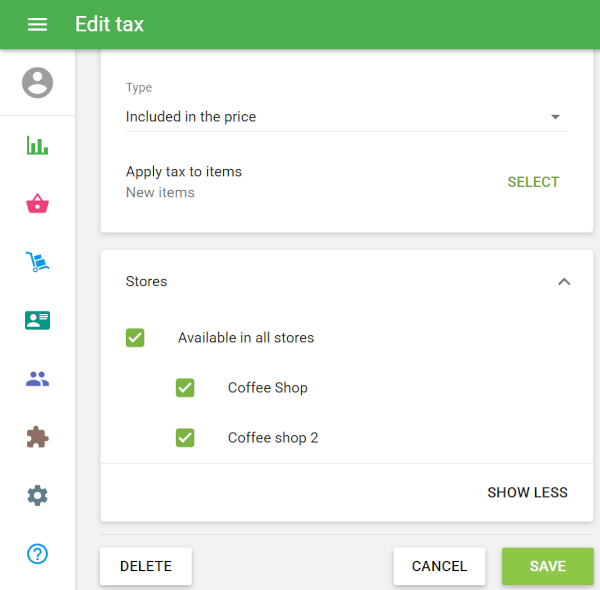
8️. Save Changes
Click ‘Save’ to apply and save your tax settings.
Your Tax Is Now Active
The configured tax will now be applied automatically at the point of sale to all selected items in the specified stores.
See also: