Loyverse POS allows you to use your mobile device’s built-in camera to scan item barcodes during sales or while managing your item list. This is especially useful when you don’t have an external barcode scanner.
Activating the Camera Scanner
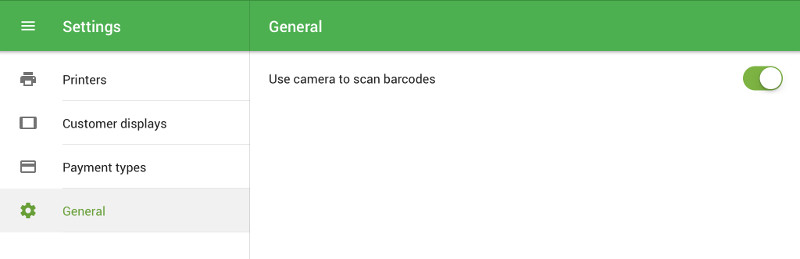
Before you can scan barcodes, make sure the option is enabled:
- Open Loyverse POS on your mobile device.
- Go to Settings > General.
- Enable the toggle “Use the camera to scan barcodes.”
1. Selling Items Using Built-in Camera
Ensure your items have barcodes assigned to them in the item card.
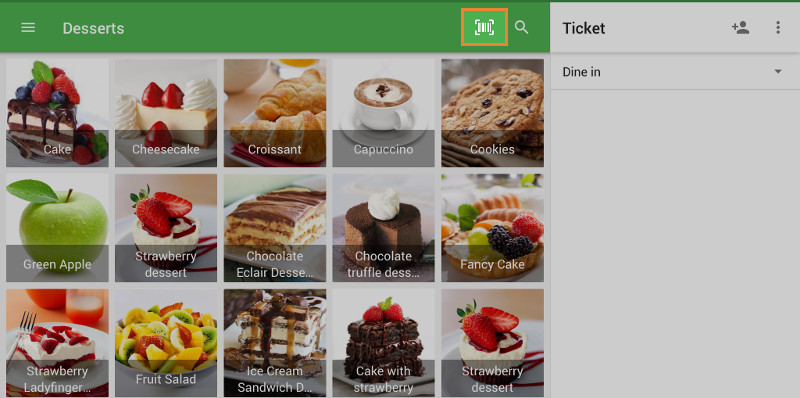
Launch the Loyverse POS app and go to the Sales screen.
Tap the camera icon (barcode scanner button) to activate the camera.
Point the camera at the barcode of the item.
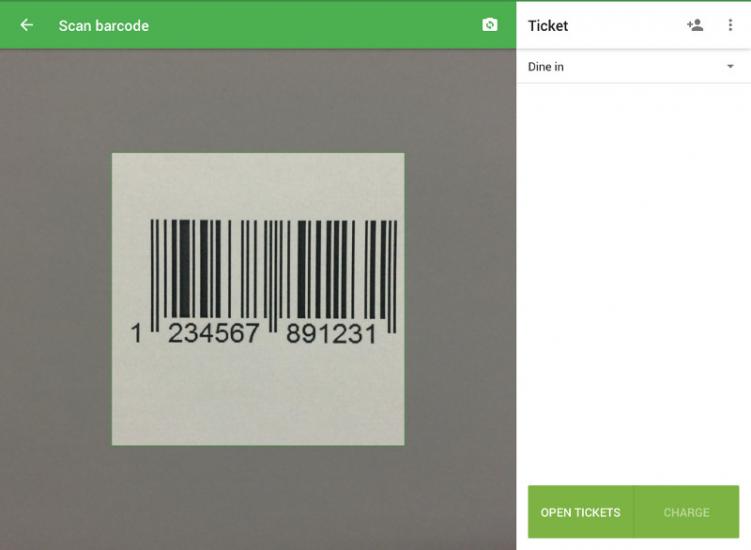
Once scanned, the item will appear in the ticket.
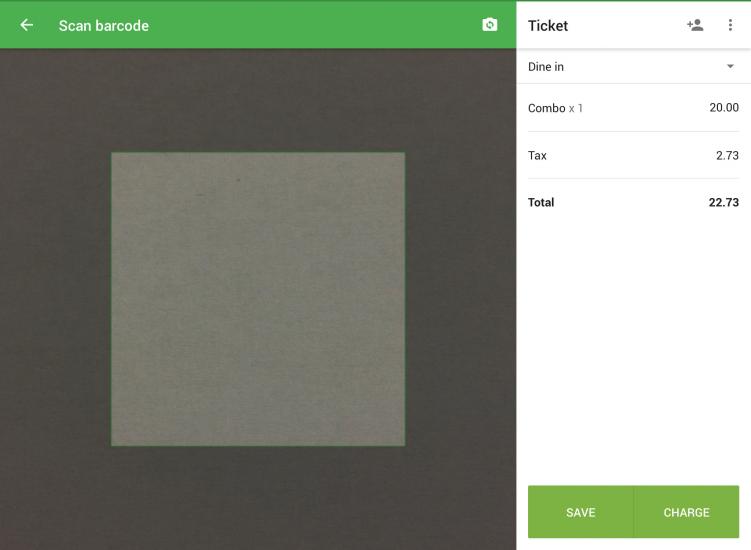
The scanning screen will stay active, allowing you to:
- Scan another barcode
- Edit items in the ticket
- Add a customer
- Redeem customer points
- Save or merge open tickets
2. Adding Barcodes to Items
You can also use the built-in camera to assign or check barcodes in the item list.
From the item’s edit screen:
Go to Items, open an item, and tap the scan icon near the Barcode field.
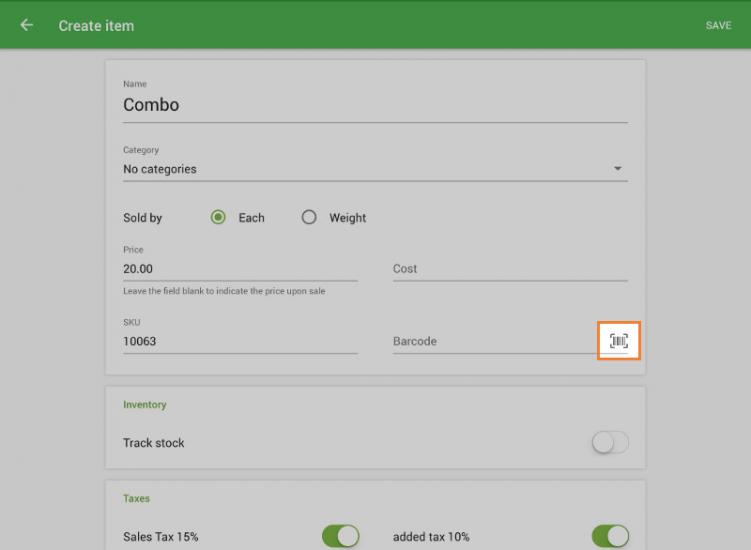
The camera will activate. Point it at the barcode.
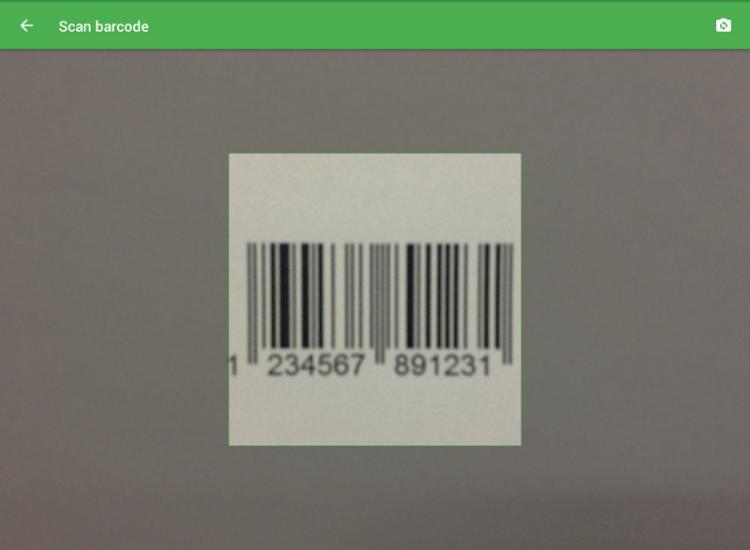
Once scanned, the barcode number will be filled into the Barcode field.

Save the changes.
From the item list:
Tap the camera icon in the Items menu.
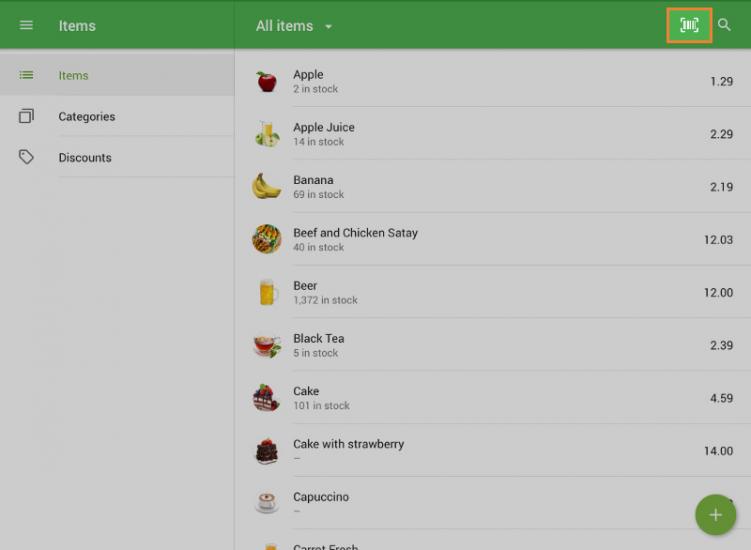
Scan a barcode:
- If the barcode doesn’t match any existing item, a new item card will open with the barcode pre-filled.
- If the barcode already belongs to an item, that item will open for editing.
Supported Barcode Formats
Loyverse POS supports the following barcode types using the built-in camera:
- UPC-A
- UPC-E
- EAN-13
- EAN-8
- Code 39
- Code 93
- Code 128
- QR codes
See also: