3. Reports
Loyverse POS merchants can accept credit card payments via PayPal Zettle and it is available to customers in the USA, Brazil, Denmark, Finland, Great Britain, Italy, Mexico, Norway, Spain, Sweden, and the Netherlands.
Before connecting a card reader, you need to create an account in PayPal Zettle and receive the device. Integration with Loyverse POS works on the card reader Zettle Reader 2.
Note: PayPal Zettle works only with mobile devices with turned-on geolocation.
1. Connecting the Card Reader
Log in to the Back Office, click the ‘Settings’ menu and then ‘Payment types.' Click the ‘Add payment type’ button to add a new type of payment.
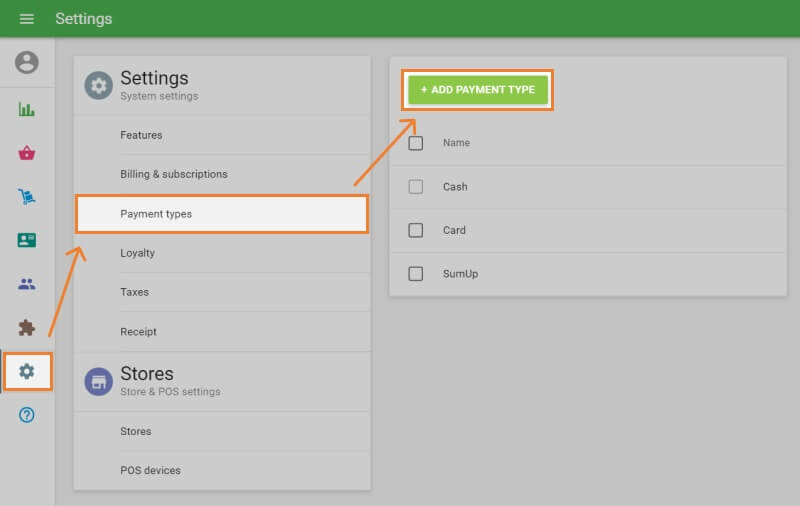
In the ‘Add Payment Type’ window, select the ‘Zettle’ payment type from the drop-down list. Save your changes when done.

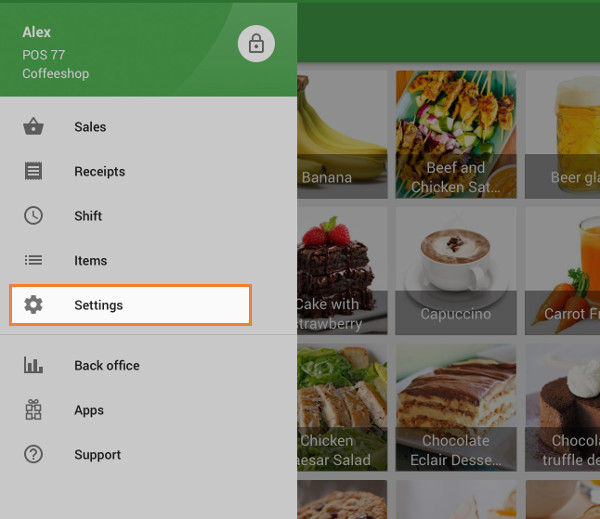
Then launch the Loyverse POS and go to Settings > Payment Types.
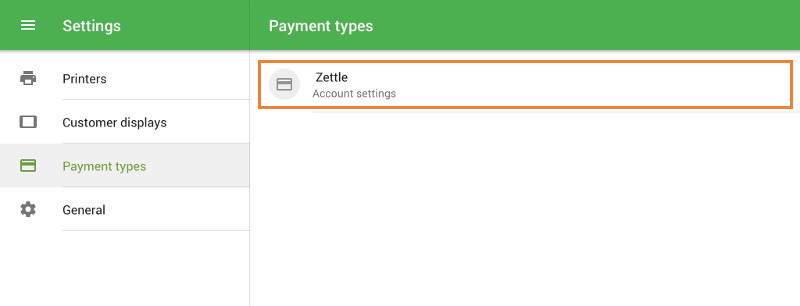
Tap the ‘Zettle’ button for account settings.
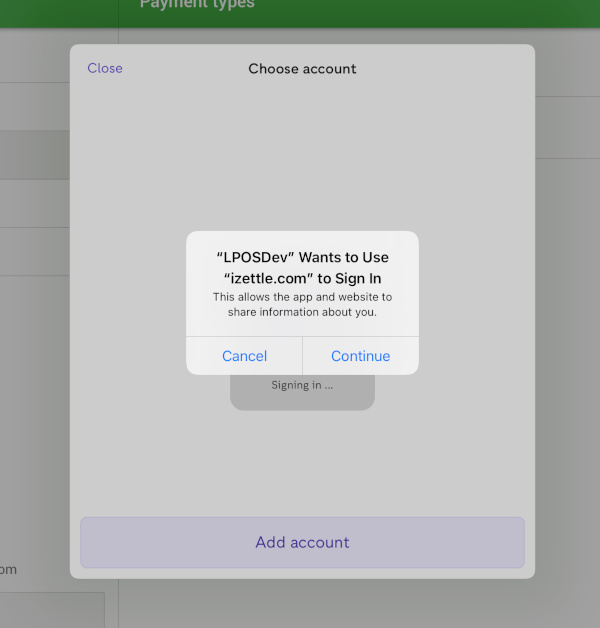
In the ‘Choose account’ window, confirm the access right to sign in to the Zettle account from Loyverse POS by tapping on the ‘Continue’ button.
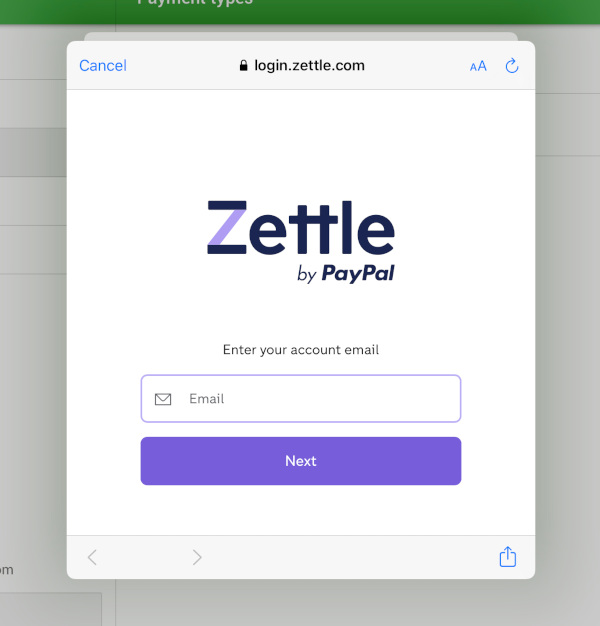
Enter the Email of your Zettle account and tap the ‘Next’ button.
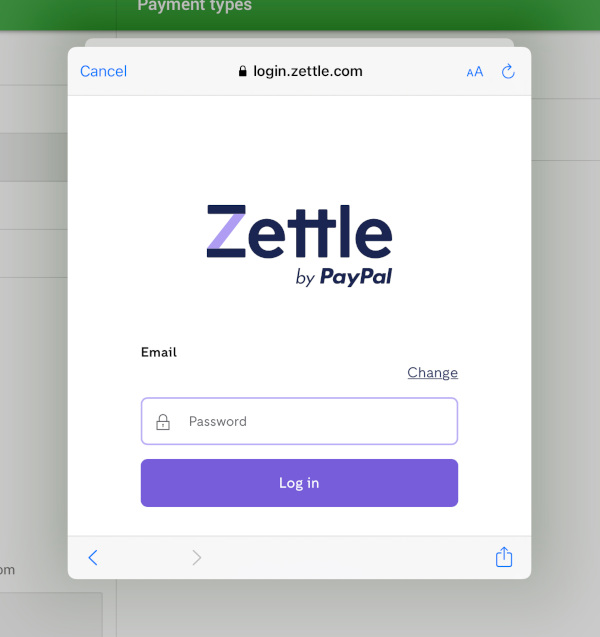
Enter the password of your Zettle account and tap the ‘Login’ button.
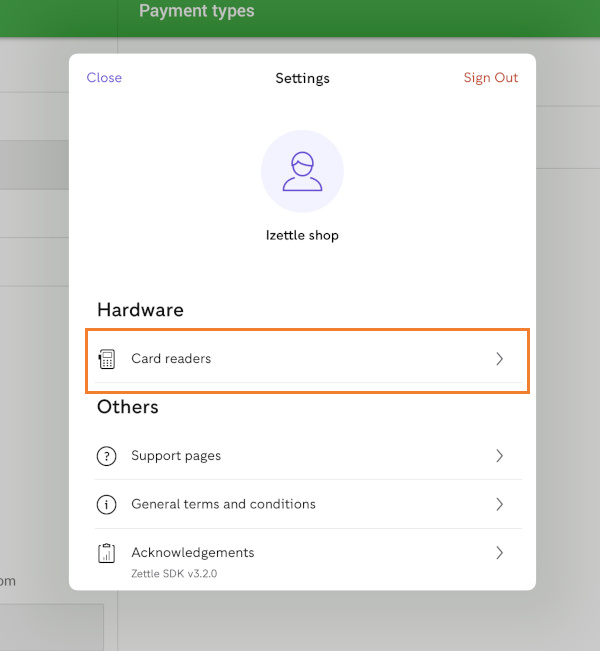
You will log in to your Zettle account. Tap the ‘Card readers’ button.
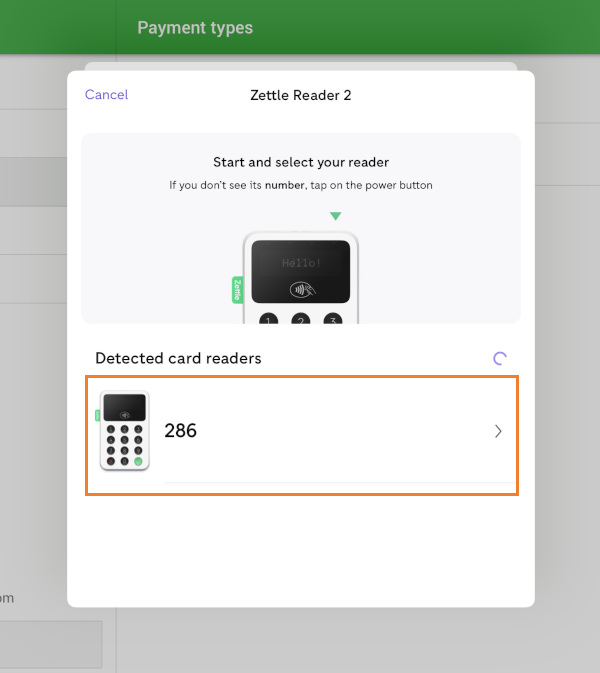
Select your type of card reader.

Follow the instructions on the screen: start your card reader. The system will detect your card reader. Tap on it to select.
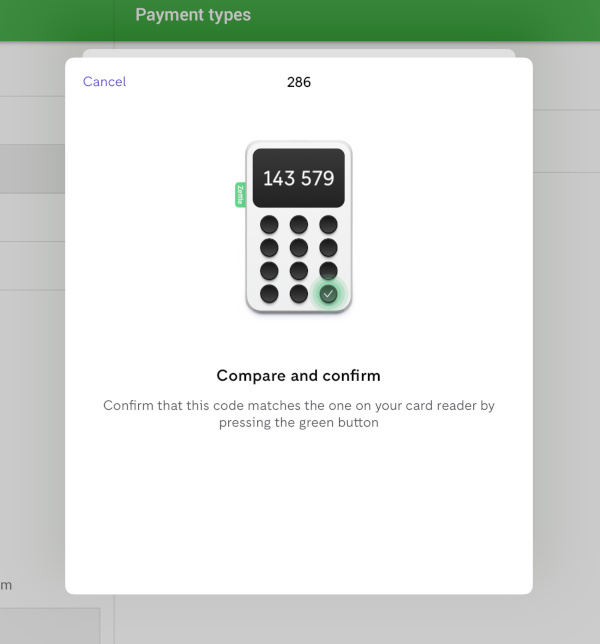
Confirm the connection to the card reader by comparing the code and pressing the green button on the card reader.
Now your card reader is connected.
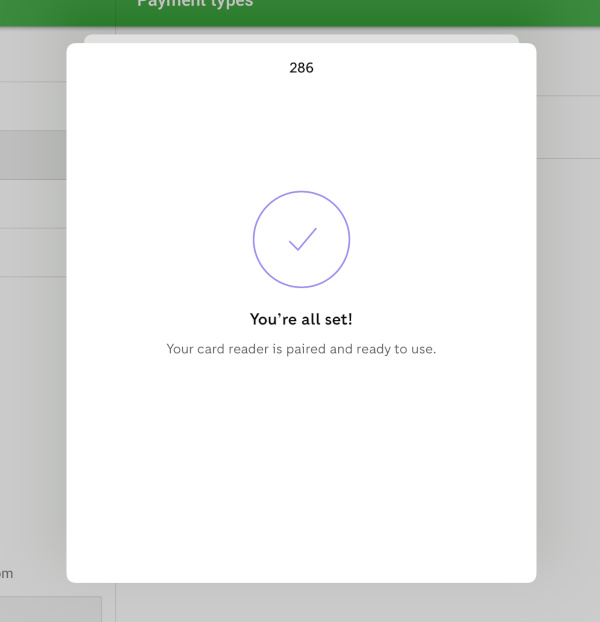
You are ready to accept card payments.
2. Processing Payments
Payment
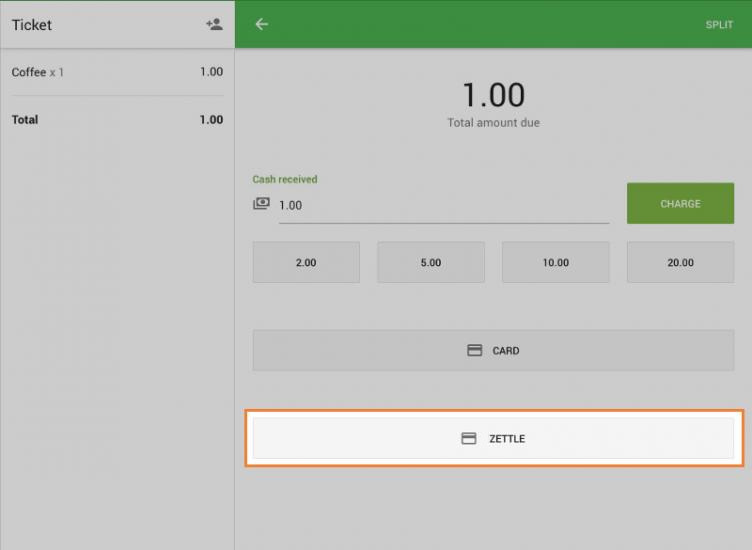
Add items to the ticket and press ‘Charge’.
Tap the ‘Zettle’ button selecting payment type.
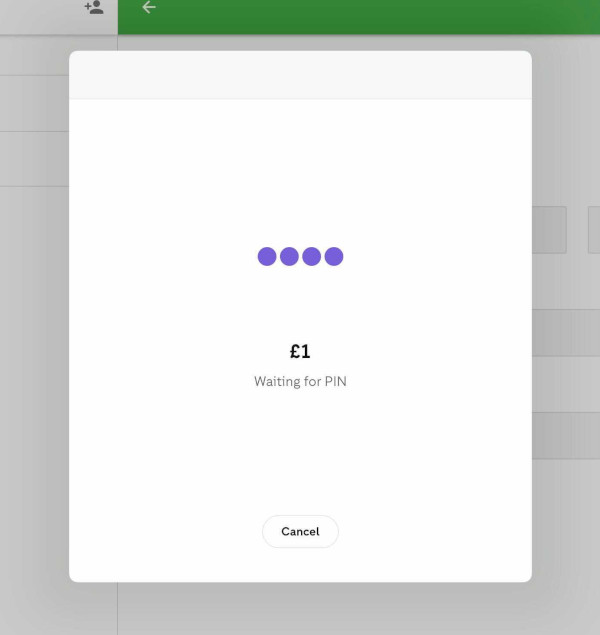
Loyverse POS will wait for a response from the card reader, and you will see an invitation to tap/insert card on the card reader.
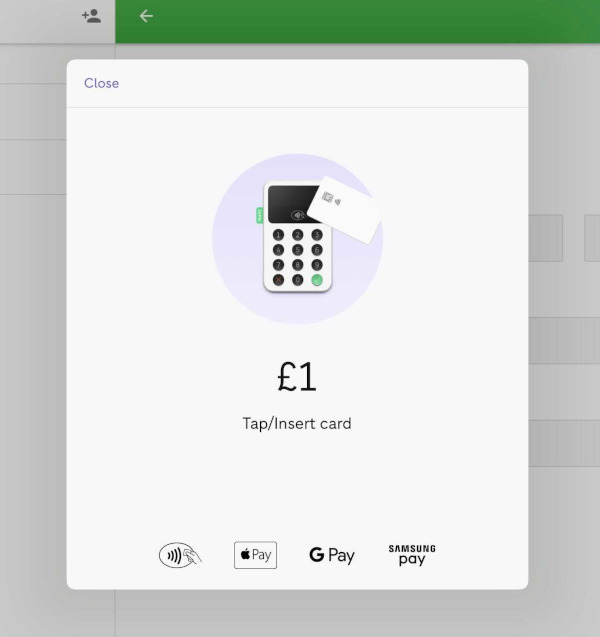
Insert your cards with a chip into the bottom slot of the card reader and give it to the customer to enter the PIN.
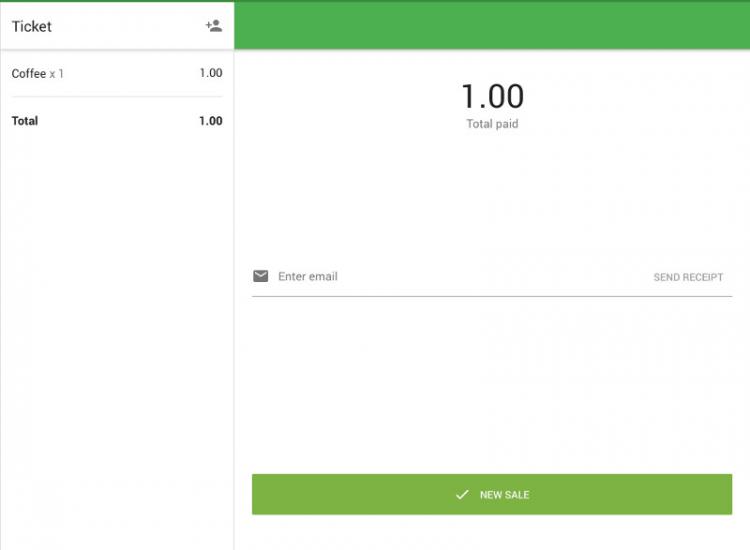
If the transaction is successful, Loyverse POS will display the ‘Transaction is successful’ screen.
In case of an error in the transaction, Loyverse POS will show an error message.
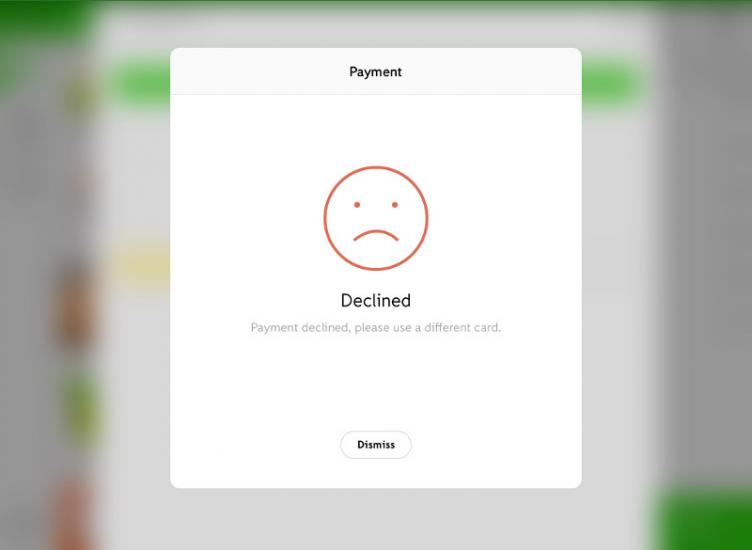
Tap the ‘Dismiss’ button, and you will return to the ‘select payment type’ screen. You can ask the customer to choose a different type of payment (for example ‘Cash’) or try another card.
Refund
You can refund the ticket fully or partially. The card reader is not used in the refund process.
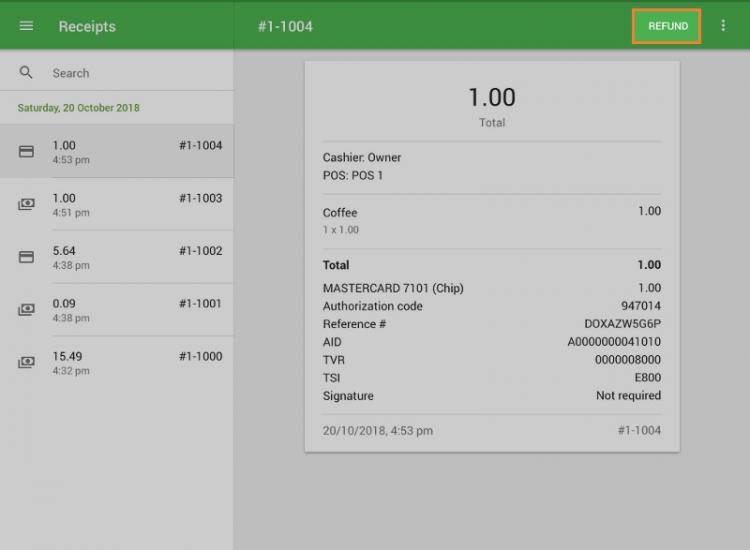
In the Loyverse POS, go to the ‘Receipts’ menu, and tap on the desired receipt.
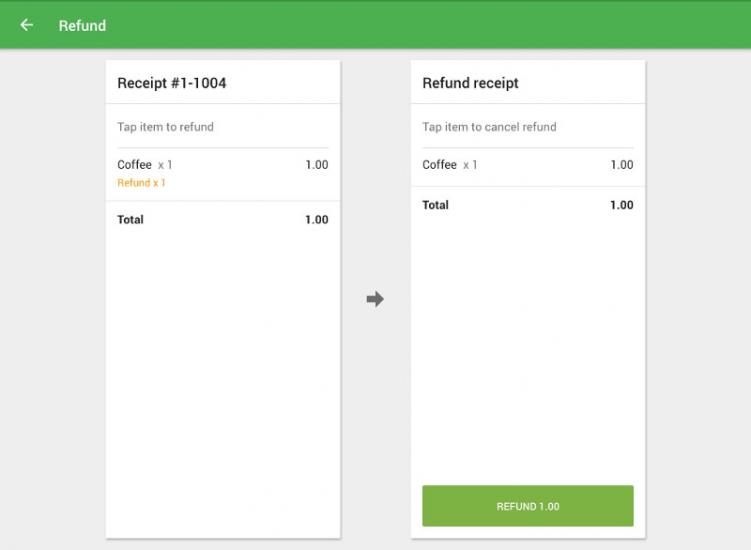
Then tap ‘Refund’.
Select all items on the receipt that were paid via card (on the left side) to move them to the ‘Refund receipt’ list (on the right side), and tap the ‘Refund’ button.
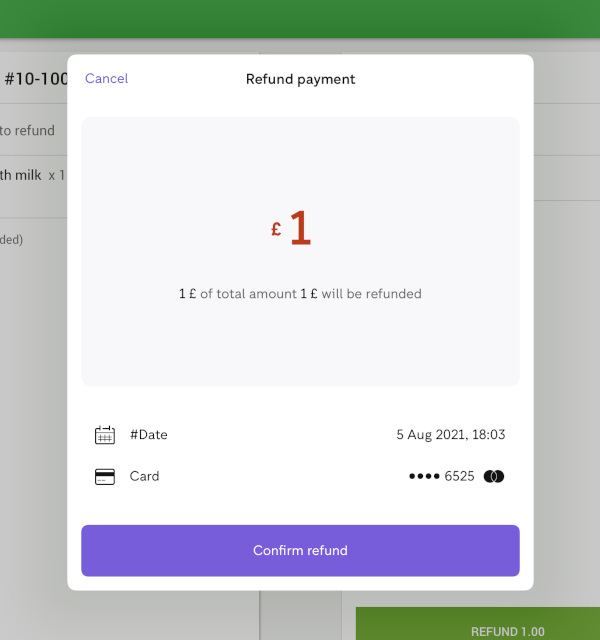
At the ‘Refund payment’ screen, check the refund details and type the ‘Confirm refund’ button.
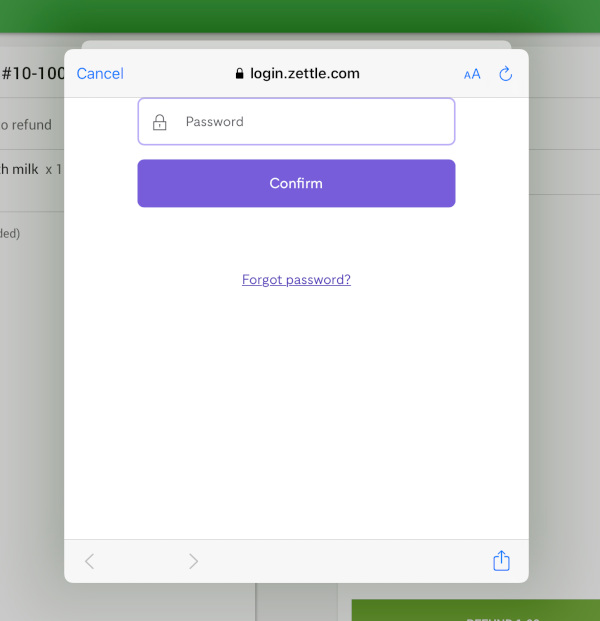
Enter the password from the Zettle account in the ‘Password’ field and tap ‘Confirm’.
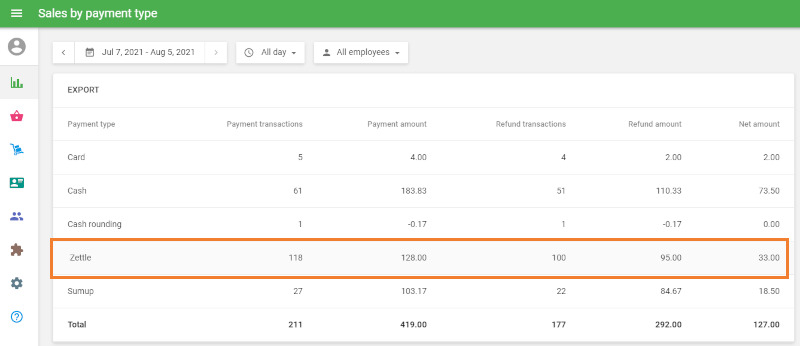
Reports
You can view the total number of transactions performed with Zettle. In the Back Office, select the ‘Sales by payment type’ report.
See also:
Configuring Payment Types in Loyverse POS