When you launch Loyverse POS for the first time, it comes with two default payment types: Cash and Card.
If you accept other payment methods and want detailed reports by payment type, you can easily add or configure them in the Back Office.
1. Adding a New Payment Type
Log in to the Back Office.
Open the Settings menu → select Payment types.
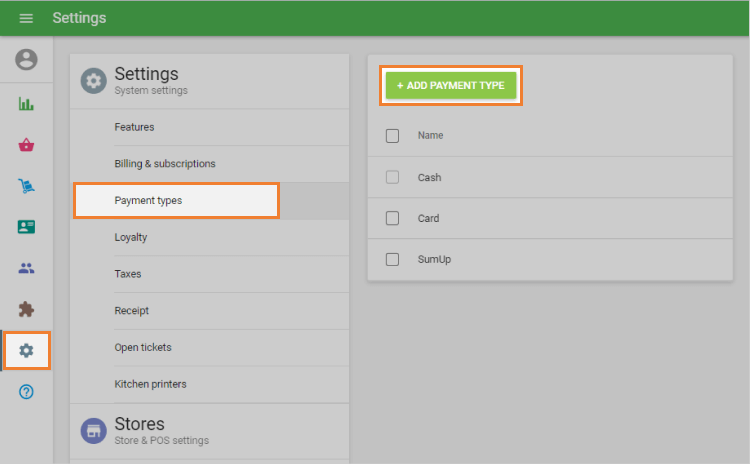
Click Add payment type.
In the Add Payment Type window:
Select a payment type from the drop-down list.
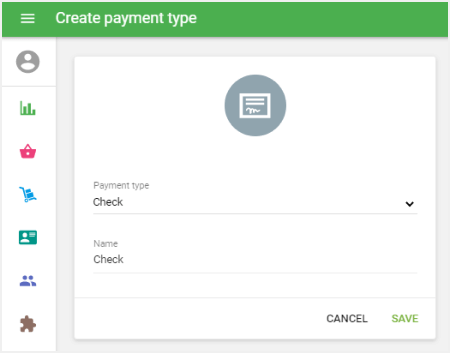
- Enter a custom name that will appear in reports.
- Note: Cash is the default payment type and cannot be changed.
Click Save.
2. Managing Payment Types for Multiple Stores
If your account has multiple stores, you can control which payment types are available at each store.
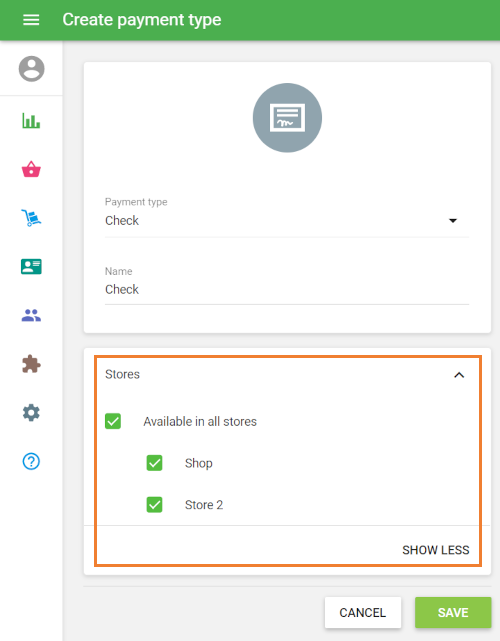
This allows you to customize accepted payment methods depending on store policies or regional requirements.
3. Using Payment Types in the POS App
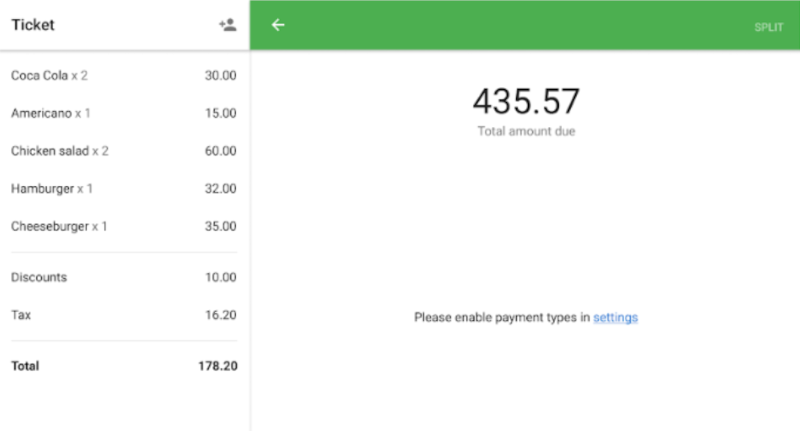
At the final stage of a sale in the Loyverse POS app, select the appropriate payment type.
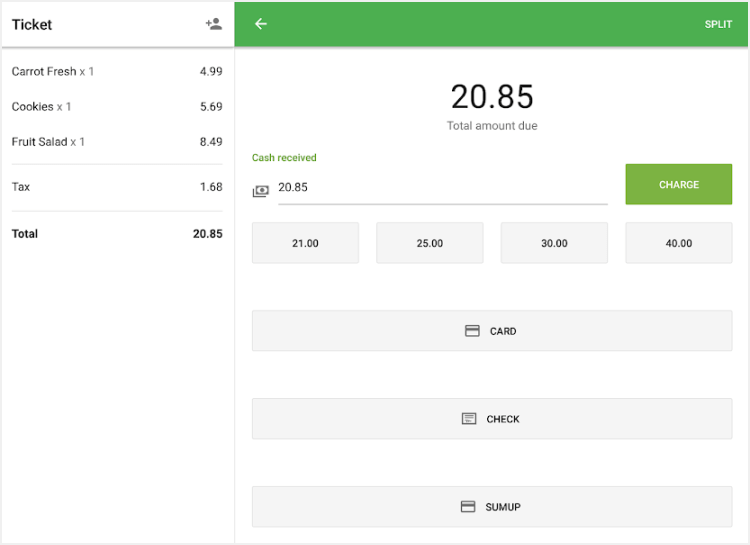
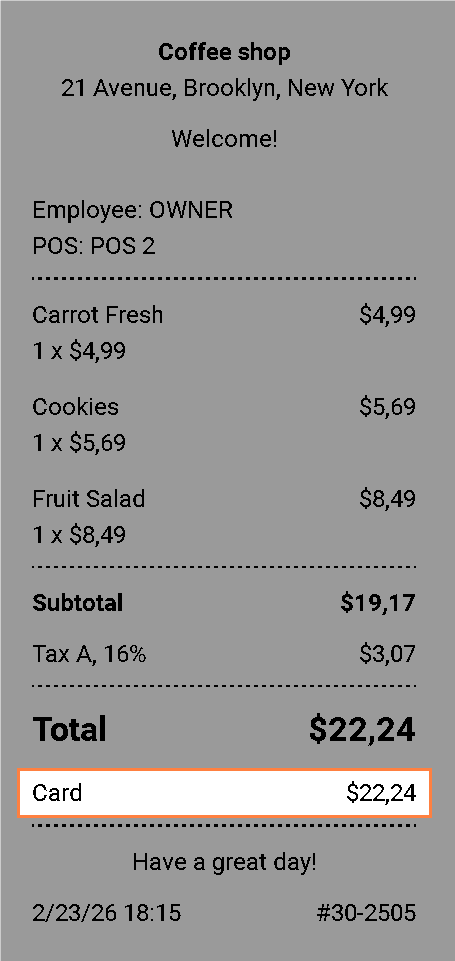
The chosen payment type will be displayed on the customer receipt.
If no payment types are enabled for a store, the POS will display a message prompting you to enable them in the Back Office.
4. Reports by Payment Type
In the Back Office, open Reports → Sales by Payment Type to view sales data grouped by payment type.
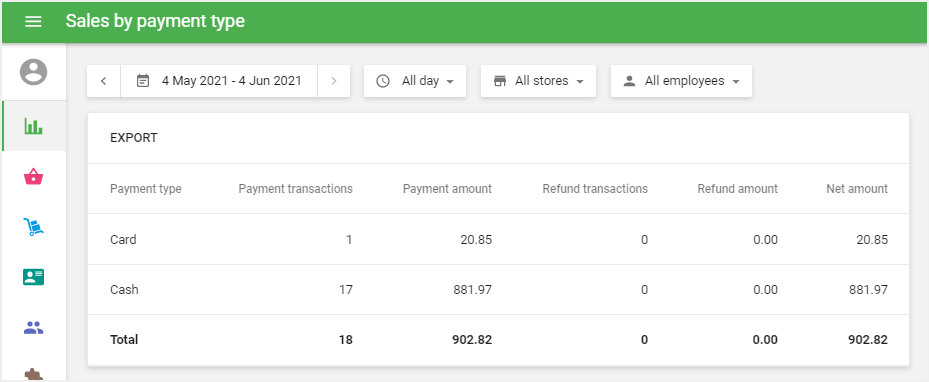
This helps you track customer preferences and analyze revenue by payment method.
5. Editing or Deleting Payment Types
You can rename or delete a payment type in the Back Office at any time.
Historical data will remain unchanged:
- Receipts synchronized before the change will continue to show the original name of the payment type used at the time of purchase.
With payment type configuration, Loyverse POS gives you the flexibility to track sales by different payment methods, ensuring more accurate reporting and better business insights.
See also: