Modifiers are sets of selectable options that can be added to items—such as toppings, fillings, or add-ons. They help streamline the sales process, speed up order taking, and provide insights into customer preferences.
Creating and Setting Up Modifiers in the Back Office
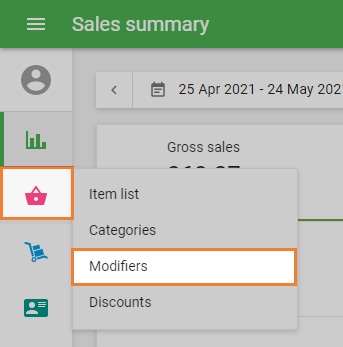
In the Back Office, go to the ‘Items’ menu and select ‘Modifiers’.
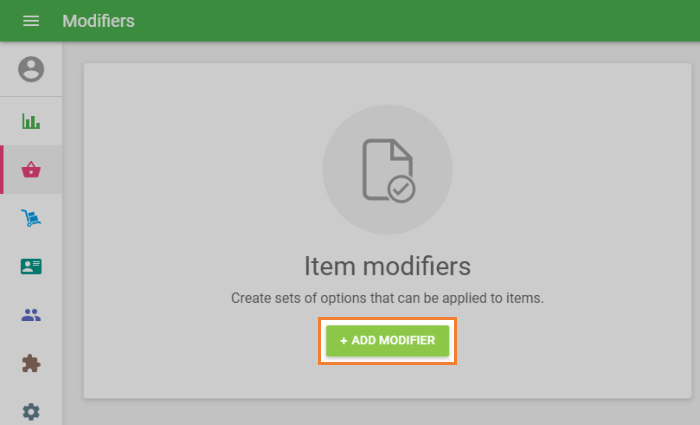
Click ‘+ Add modifier’ to create a new one.
In the ‘Create modifier’ form:
- Enter the modifier name.
- Add option names (e.g., "Extra Cheese", "No Onion") and their prices, if applicable.
- Click ‘Add option’ to include more choices.
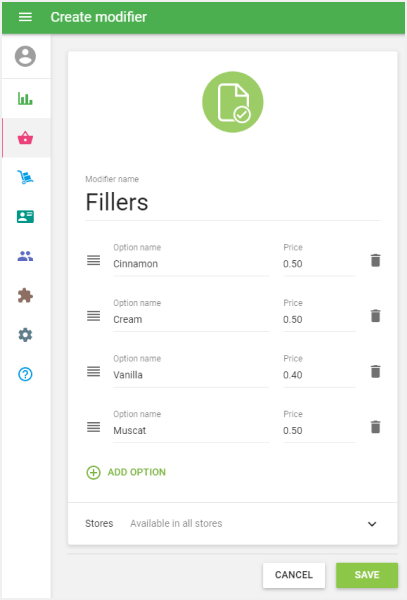
Click ‘Save’ to finalize the modifier.
Creating and Editing Modifiers in the Loyverse POS App
You can also create and edit modifiers directly in the Loyverse POS app:
Open the app and go to Items > Modifiers.
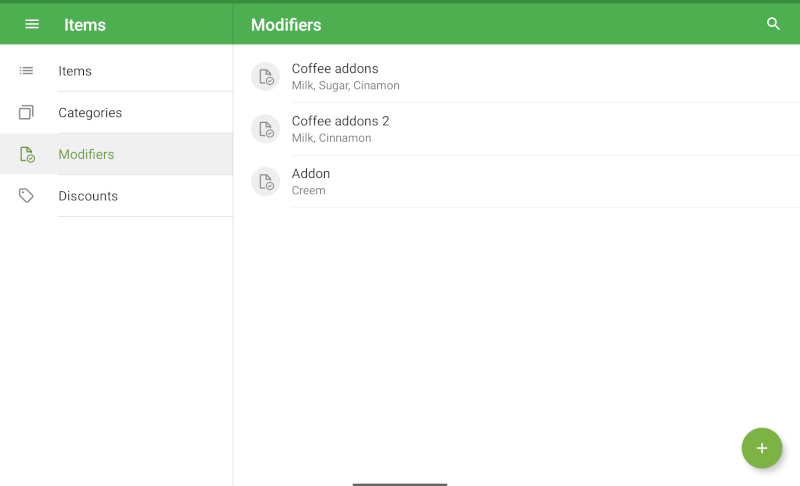
Tap the ‘+’ button in the bottom right corner to add a new modifier.
Enter the modifier name, set the options and prices, and save your changes.
You can also edit existing modifiers that were created in the Back Office.
Note: In the POS app, you cannot change the order of modifiers as you can in the Back Office.
Assigning Modifiers to Items
In the Back Office or POS, open the ‘Item list’ and select the item you want to edit.
Scroll to the ‘Modifiers’ section.
Activate the checkbox for each modifier you want to assign to the item.
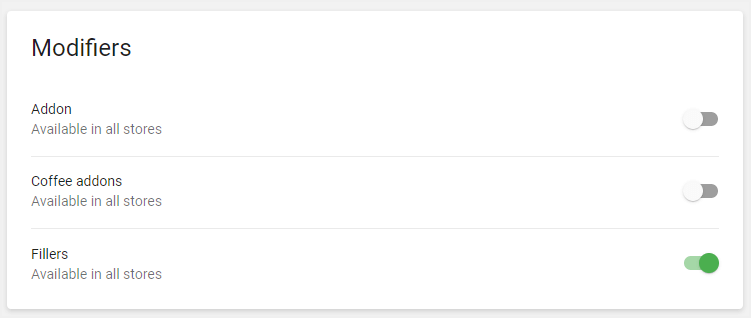
Click ‘Save’.
Using Modifiers at the POS
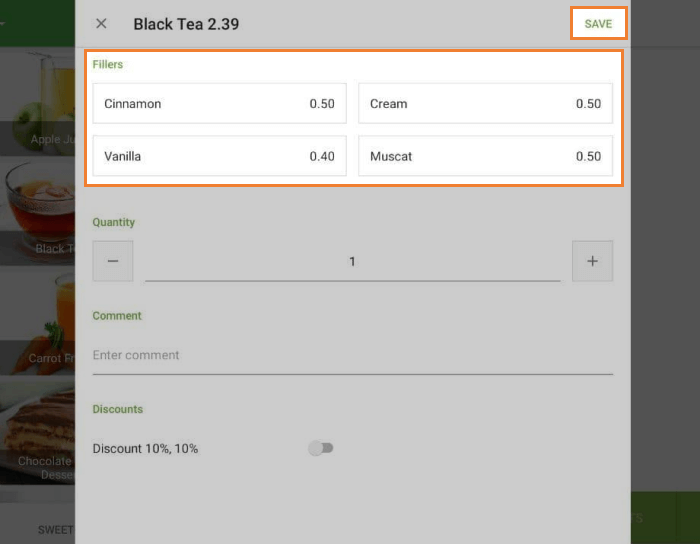
In the Loyverse POS app, tap on an item with assigned modifiers.
A dialog window will appear. Select the desired options and tap ‘Save’.
The item with the selected modifiers will appear in the ticket.
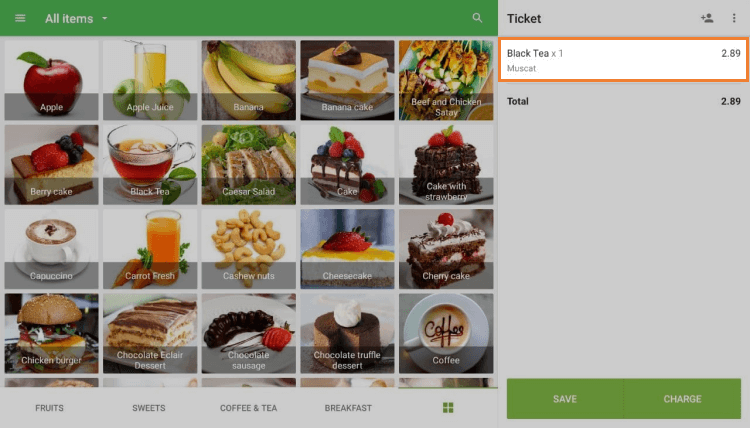
Continue with the checkout process as usual. Taxes and discounts will be calculated based on the item’s base price and the selected modifiers.
Modifier Reporting
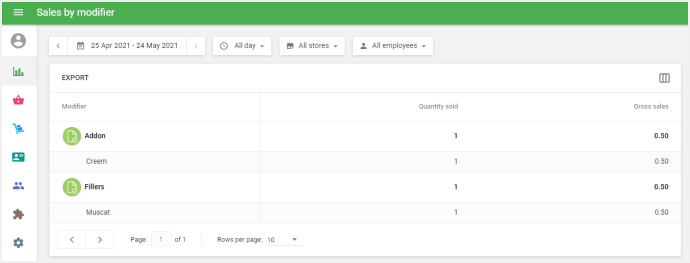
Modifiers do not have stock tracking, but you can track their usage in reports.
Go to the Back Office > Reports > Sales by modifier to see how often each option is selected.
Customizing Modifier Order
You can reorder how modifiers appear during a sale on POS:
- In the Back Office go to the ‘Modifiers’ section.
Make sure ‘All stores’ is selected in the store filter.
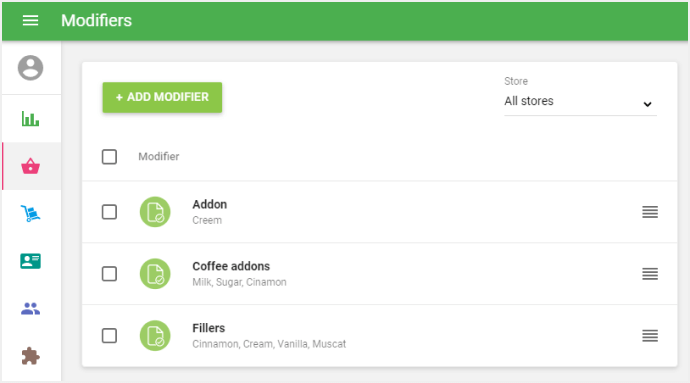
- Use the four-line icon to drag and rearrange the order of modifier options.
See also: