Enabling Dining Options
Setting Up Dining Options
Using Dining Options During a Sale
Where Dining Options Appear
Dining options help you specify the type of customer order—whether it is dine-in, takeout, or delivery. This distinction is useful for organizing kitchen workflow and customer service, and is also important in regions where tax rules differ depending on the dining method.
Example: In some countries, takeout food is tax-exempt, while the same food consumed on-site is subject to tax. Using dining options helps you apply the correct tax settings automatically during sales.
Enabling Dining Options
Log in to the Back Office.
Go to Settings → Features.
Toggle the ‘Use dining options’ switch to ON.

Click ‘Save’ to apply the changes.
Once enabled, a new Dining options section will appear in the Settings menu.
Setting Up Dining Options
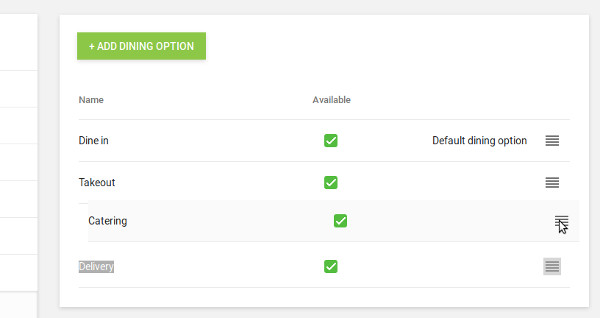
By default, you’ll see three standard types:
- Dine in
- Takeout
- Delivery
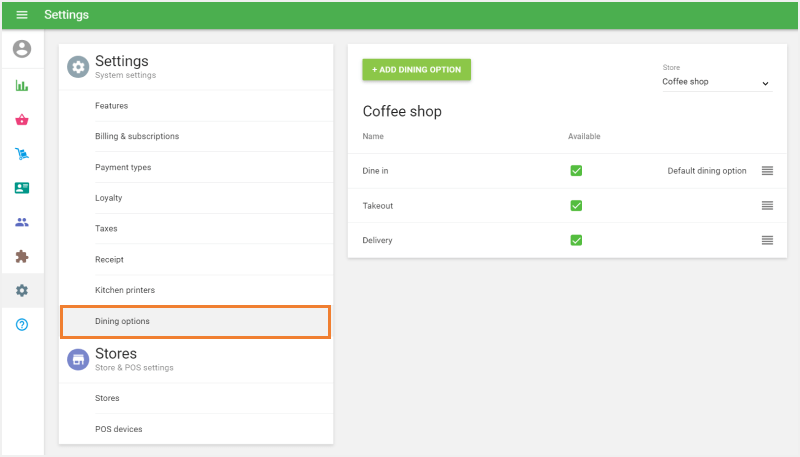
You can:
- Edit an existing option by clicking its name.
- Create new options with the ‘Add dining option’ button.

- Reorder options by dragging the icon with four horizontal lines next to each dining option. The first in the list becomes the default during sales.
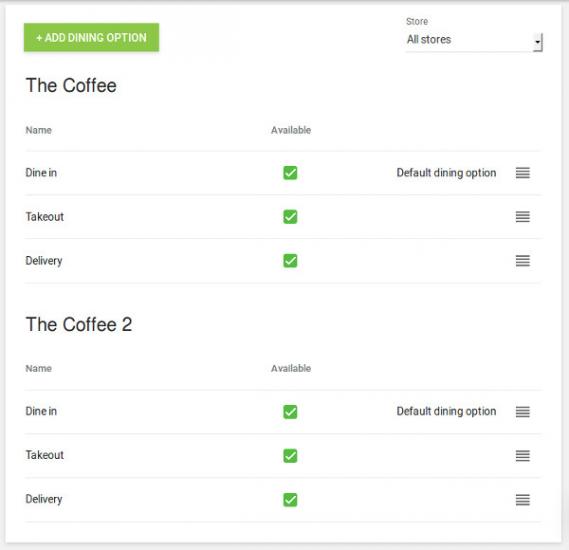
If your account includes multiple stores, you can configure dining options individually for each store.
Don’t forget to click ‘Save’ after making changes.
Using Dining Options During a Sale
On the POS sale screen, after adding items to the ticket, tap the dining option line near the top.
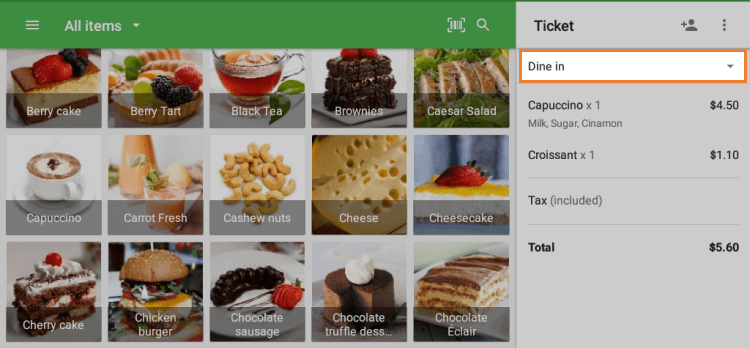
Select the appropriate option from the dropdown list.
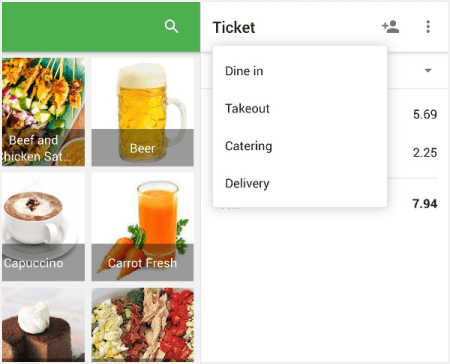
The selected dining option is stored with the sale and affects both visual display and tax application (if configured accordingly).
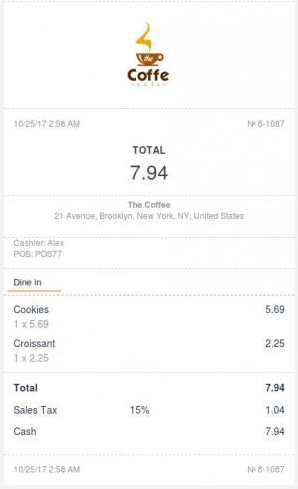
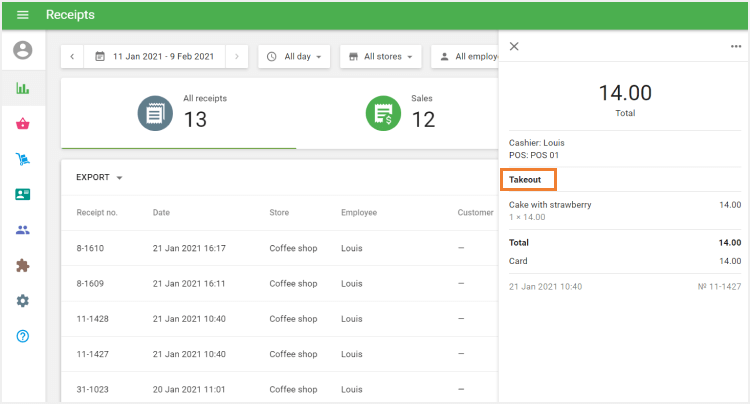
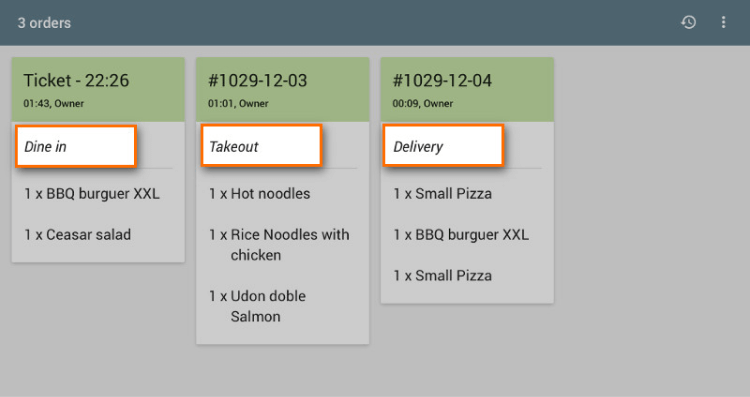
Where Dining Options Appear
Dining options are visible on:
Printed receipts

- Printed bills
E-receipts sent to customers
Receipts list in the POS app and the Back Office
Kitchen Display System (KDS) as well as on tickets when using kitchen printers
- Customer Display System (CDS)
Dining options improve internal workflow, customer service, and regulatory compliance for food service businesses.
See also: