Follow these steps to create and complete a sale in the Loyverse POS app.
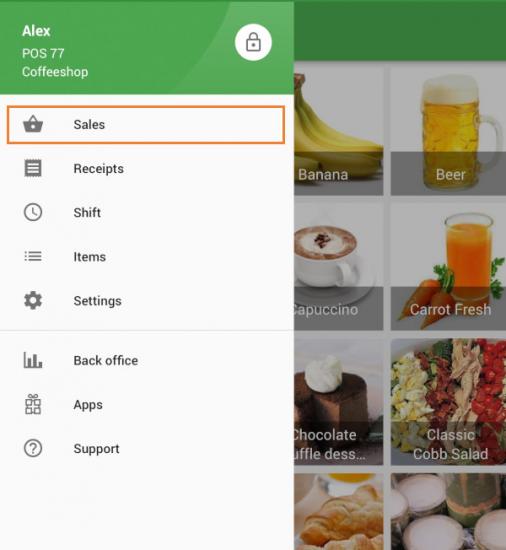
1. Open the Sales Screen
Launch the Loyverse POS app.
Tap Sales at the main menu.
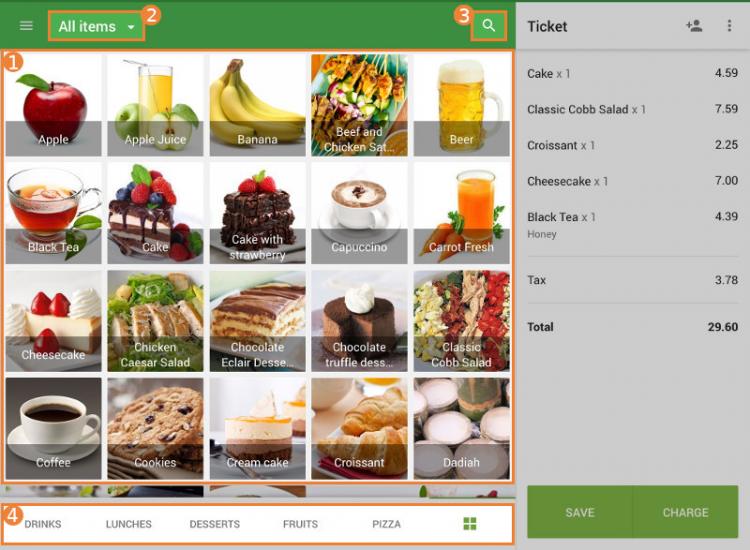
2. Add Items to the Ticket
1. Tap an item icon to add it to the current ticket.
2. Filter by category: Use the All items dropdown to select a category.
3. Search for items: Enter a name or SKU in the search bar.
4. Navigate pages: Use the page tabs at the bottom to browse—learn more in How to Arrange Sale Screen in Loyverse POS.
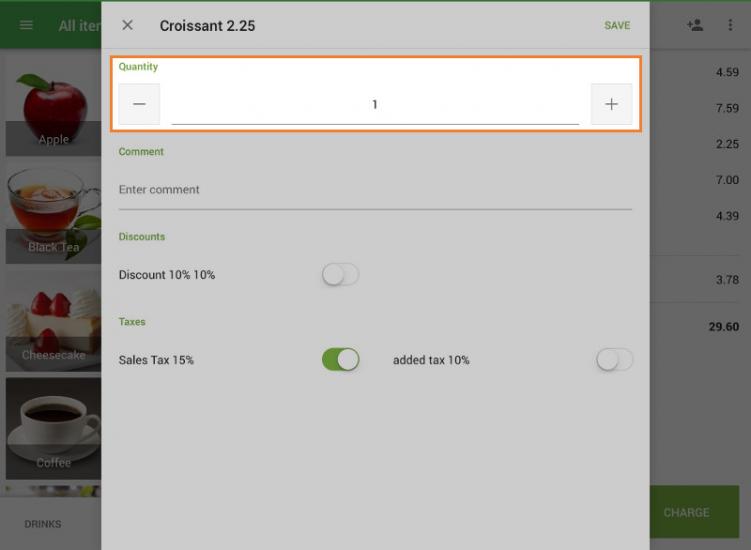
3. Adjust Items in the Ticket
Change quantity: Tap the item in the ticket, then adjust the quantity using the +/– buttons.
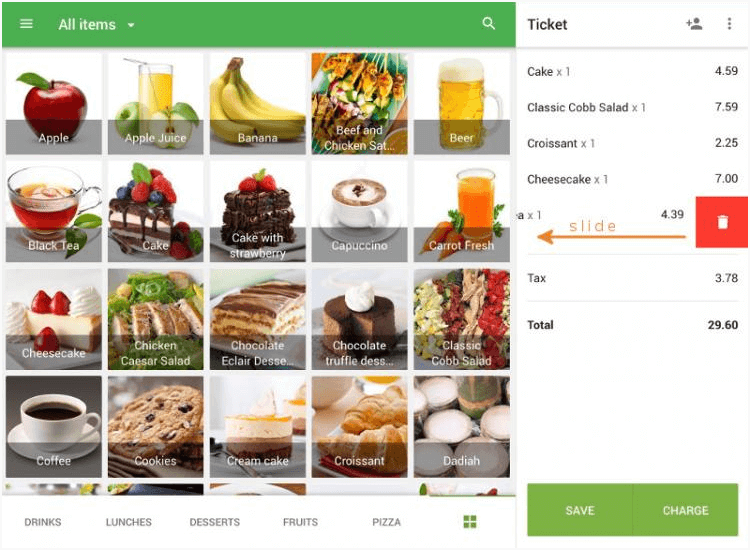
Remove an item: Swipe left on the item and tap the Delete icon.
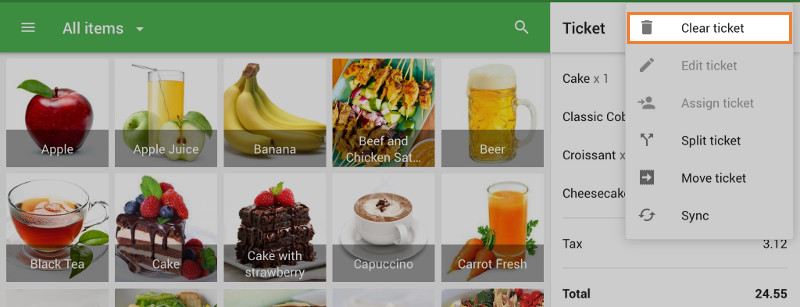
4. Clear the Ticket
If you need to void the entire sale, tap the ⋮ menu in the ticket header and select Clear ticket.
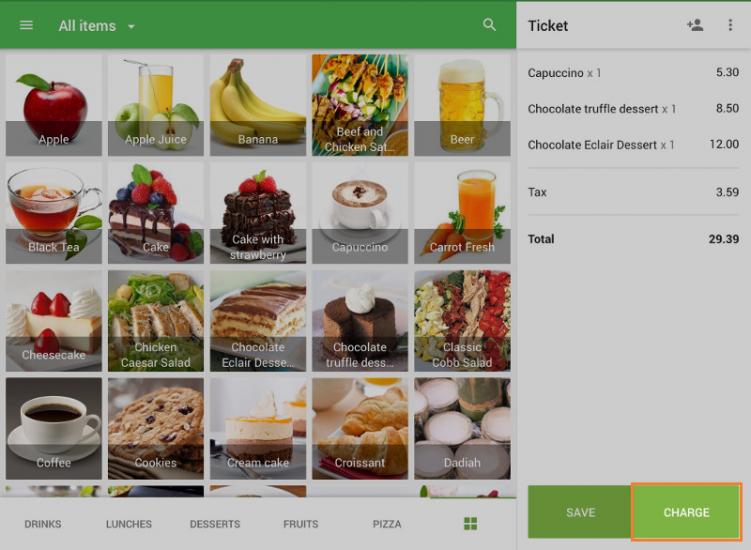
5. Process Payment
1. Tap Charge (bottom right).
2. In the payment dialog, choose a payment method:
Cash:
Tap one of the suggested cash amounts, or
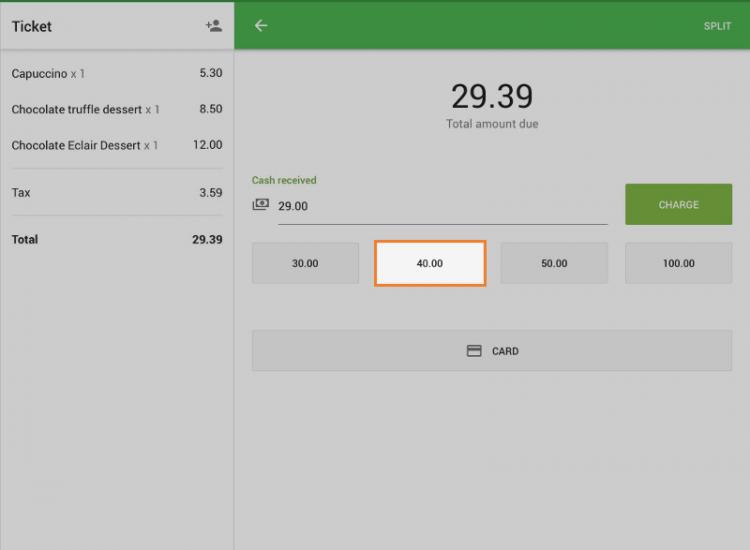
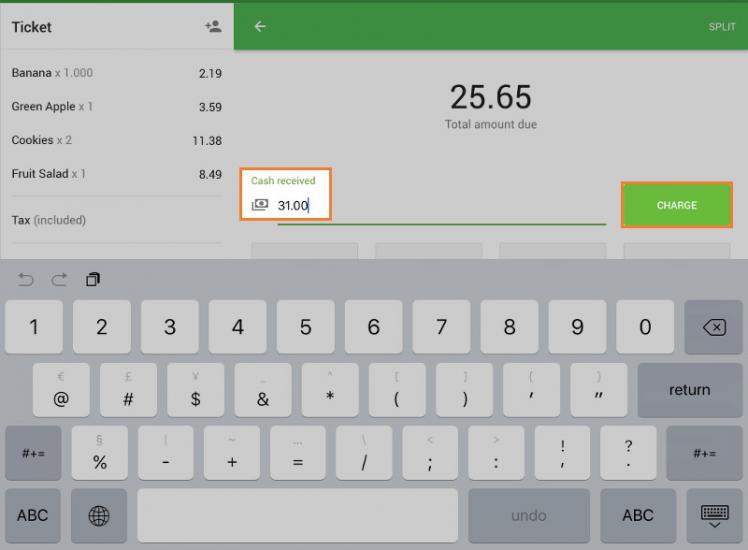
Enter a custom amount under Cash received, then tap Charge.
Card (or other methods):
Select the appropriate option and follow the on‑screen prompts.
3. After processing, you’ll see a summary showing the Total and Change due.
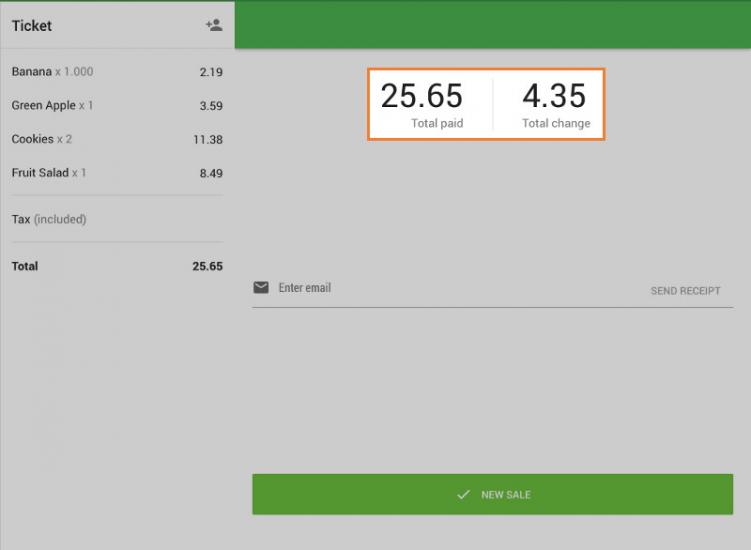
6. Complete the Sale
- Email receipt: Tap the Email field and enter the customer’s address.
- New sale: Tap New sale to finalize the sale and begin another transaction.
With these steps, you can quickly add items, adjust quantities, process payments, and send receipts—all from your mobile device. Happy selling!
See also:
How to Sell Items Using Barcode Scanners