1. Organizing Items on a Custom Page
2. Managing Pages
Loyverse POS allows you to customize the sales screen on tablet devices by creating custom pages and organizing items, categories, and discounts for quick and convenient access.
Note: This feature is only available in the Loyverse POS app installed on tablet devices. On smartphones, the sales screen uses a different feature called Favorites, which lets you mark frequently used items for easier access.
Default and Custom Pages on Tablets
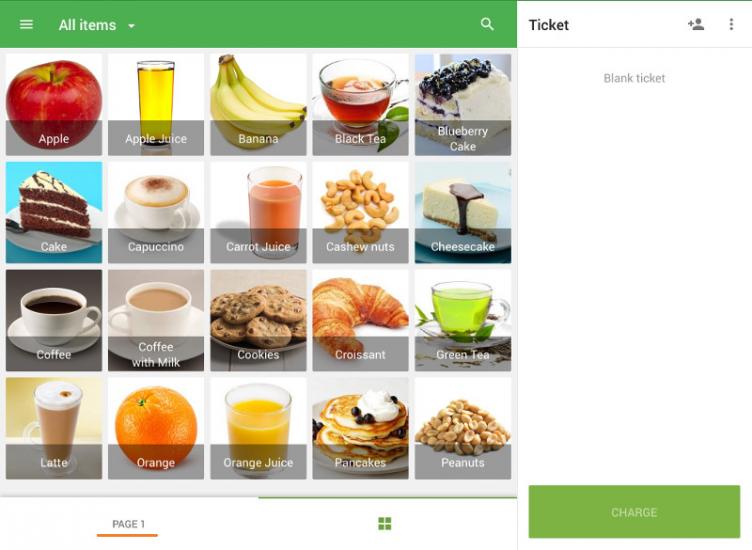
The default page (marked by a grid icon) displays all items in alphabetical order and cannot be customized.
You can create additional custom pages (e.g., “Page 1”, “Page 2”) to arrange items however you like.
Organizing Items on a Custom Page
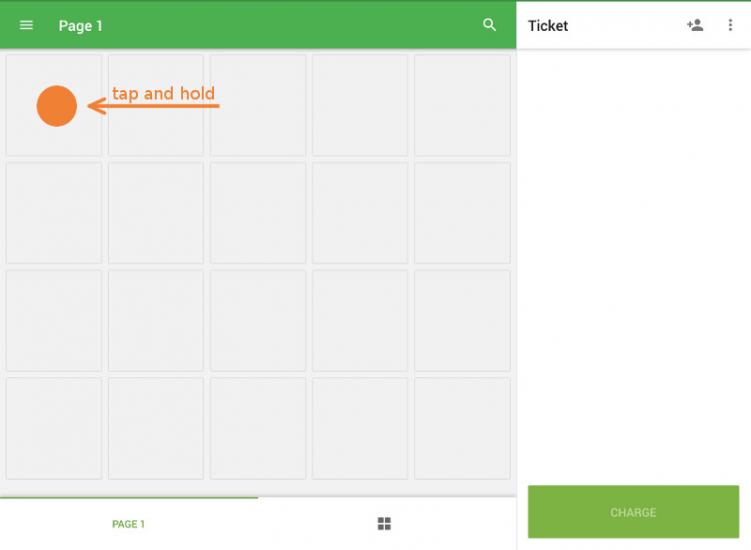
Open the sales screen and go to a custom page like ‘Page 1’.
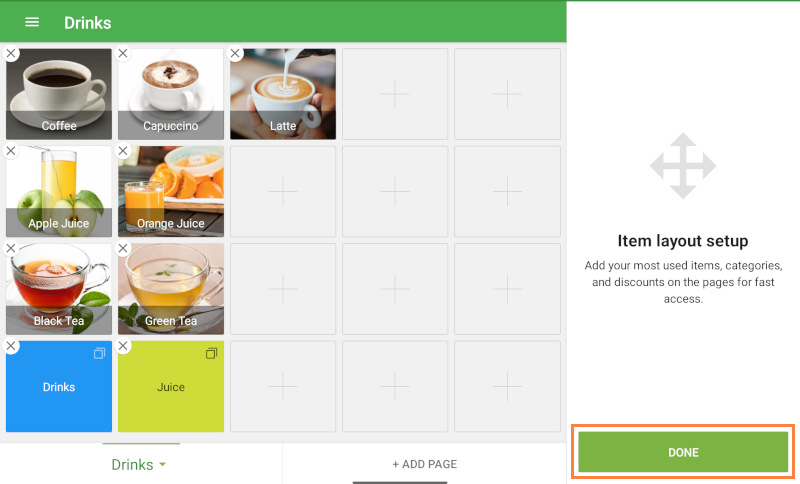
Tap and hold an empty square to enter ‘Item layout setup’ mode.
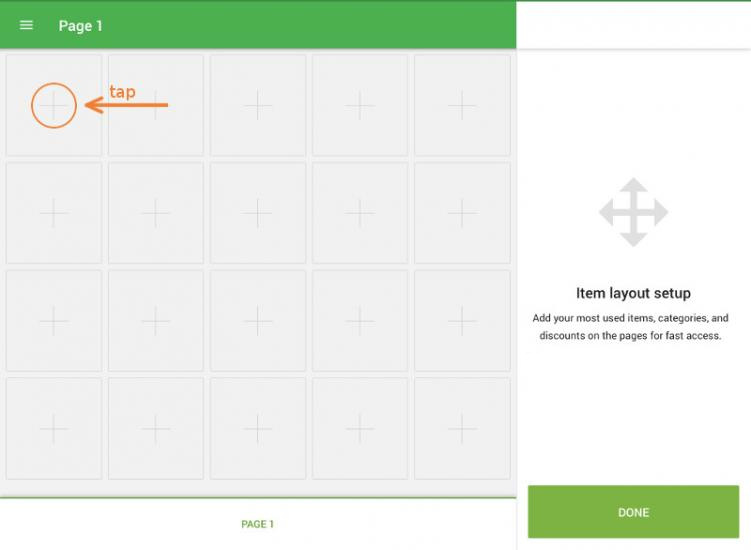
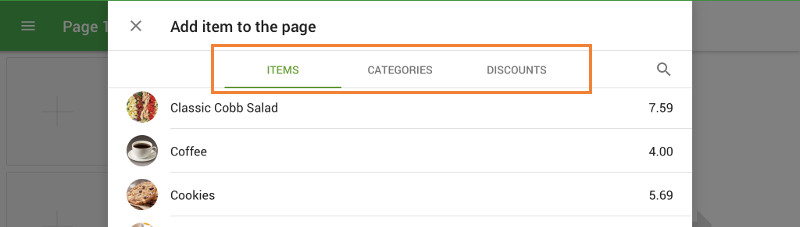
Tap any square with a ‘+’ sign to open the item list.
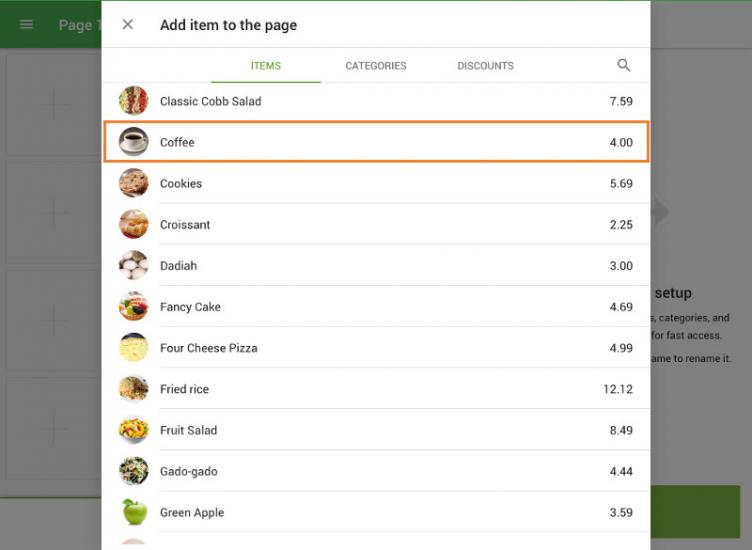
Choose an item to place in that square.
Drag and drop items to rearrange them as needed.

You can also add Categories and Discounts using the same method.
Managing Pages
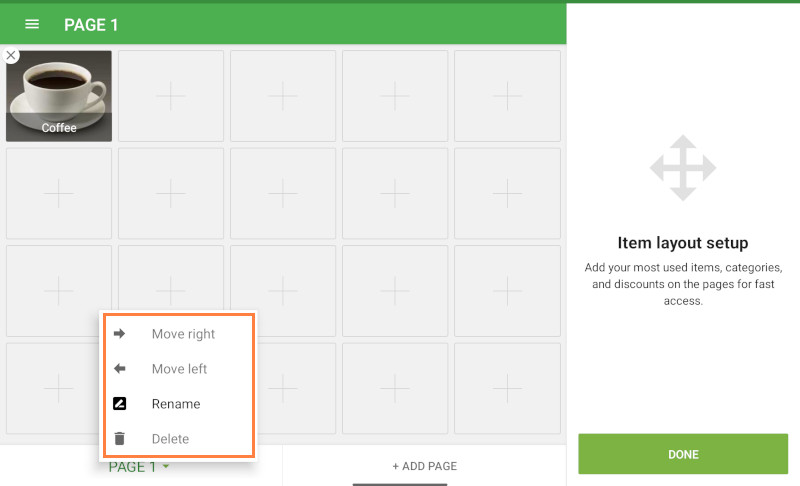
In the ‘Item layout setup’ mode, you can manage the tabs (pages) more flexibly. Tap on the name of the active tab to open a menu with available actions:
- Move right
- Move left
- Rename
- Delete
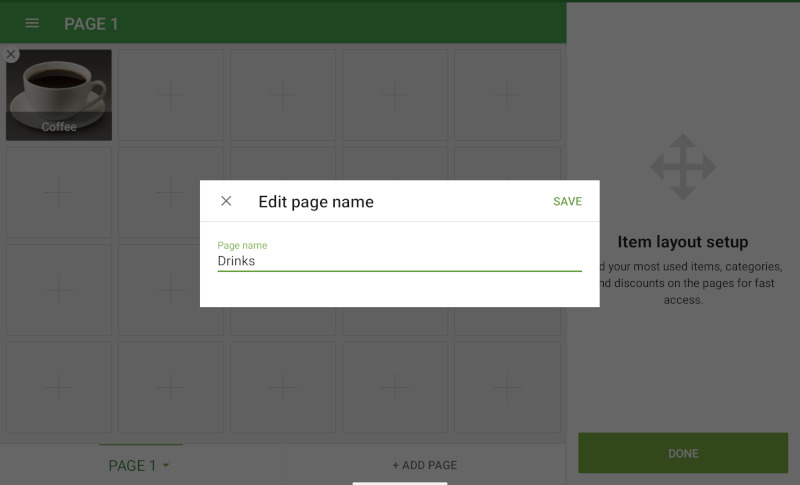
To rename a page, enter the new name in the pop-up window and tap ‘Save’.
To create a new page, tap the ‘Add Page’ button at the far right of the page tabs.
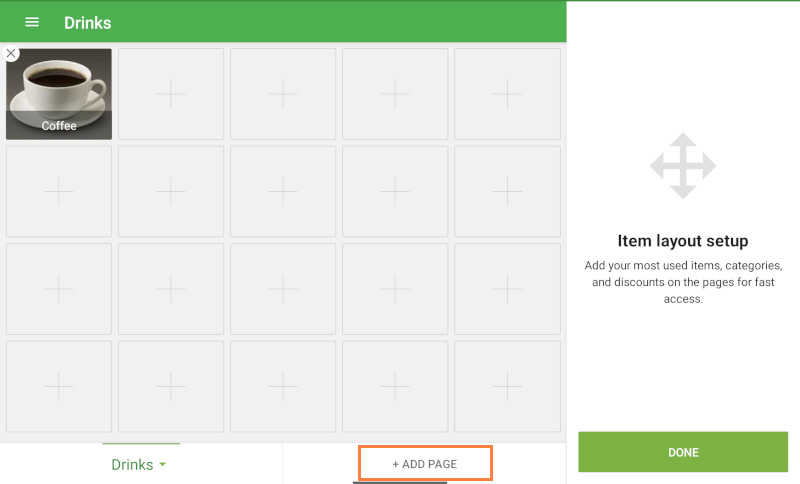
After arranging your layout, tap ‘Done’ to save changes and return to the normal sales screen.
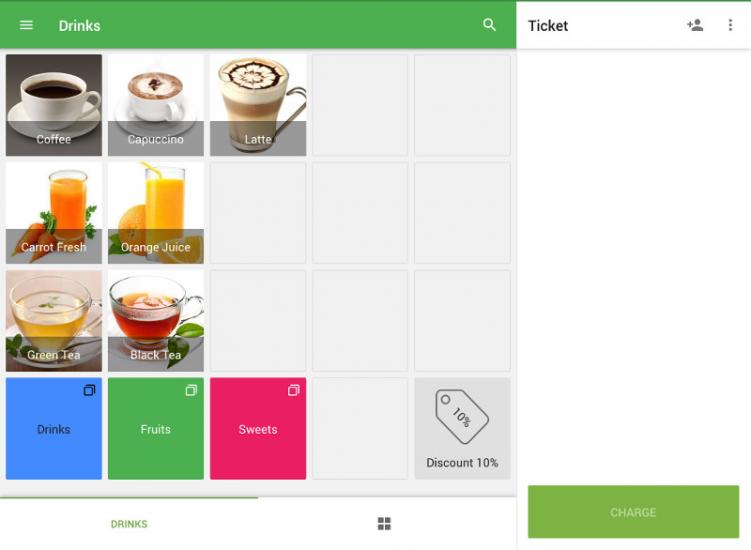
How It Works
After setup, simply tap items from your custom pages to add them to the ticket. This speeds up sales, especially for commonly purchased items.
Synchronization Across Devices
Layouts created on one tablet will automatically sync to all other POS devices (tablets only) in the same store.
See also: