For an Ethernet printer to work with Loyverse POS (Android, iOS), you will need the following:
- Smartphone or tablet with the Loyverse POS app
- Ethernet printer, supported by the Loyverse POS app (see the list of Supported Printers)
- Wi-Fi router
- Ethernet cable
Plug one end of the ethernet cable into the 100/10 Base port of the printer, and the other end into the LAN port of the router.
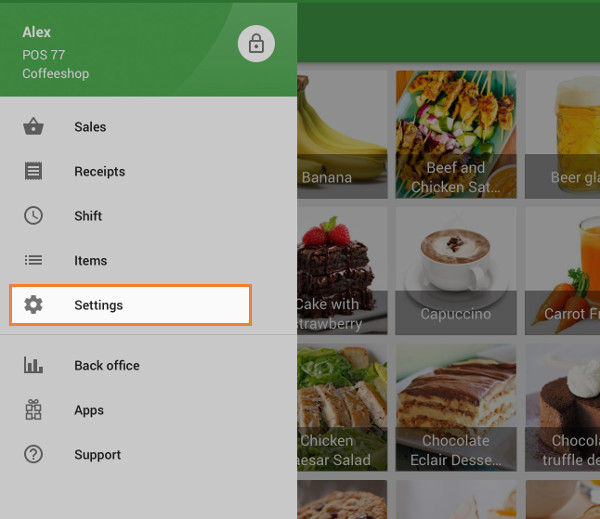
Then in the Loyverse POS app, go to Settings.
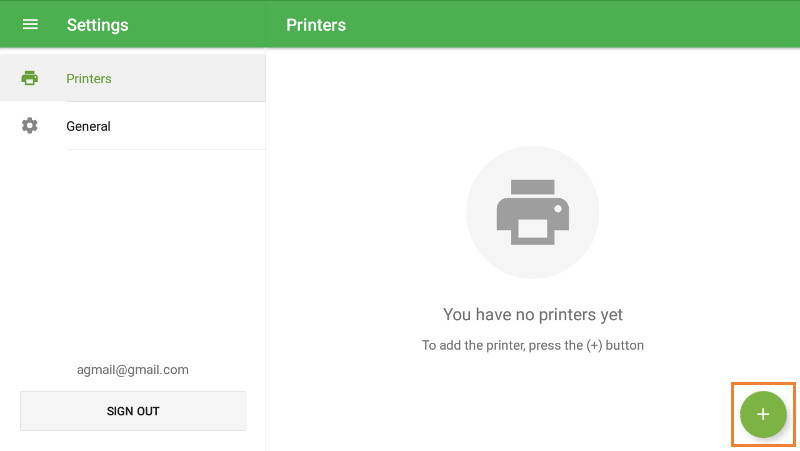
Create a printer by tapping on the ‘+’ button.
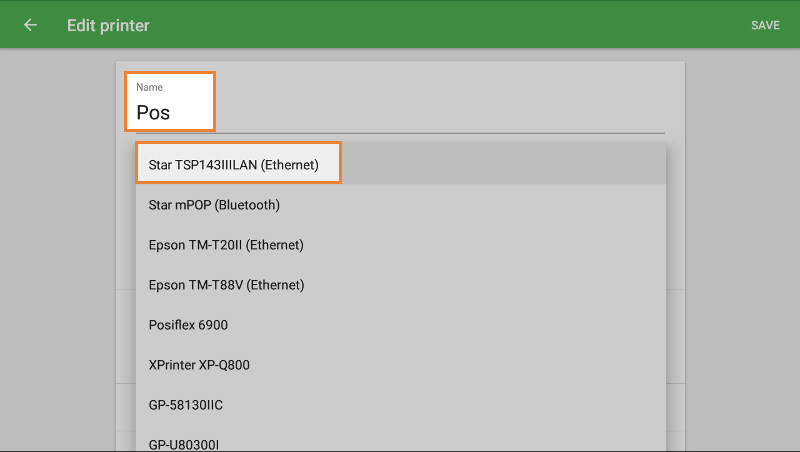
Type the title of your printer in the ‘Name’ field and select your printer model from the drop-down list.
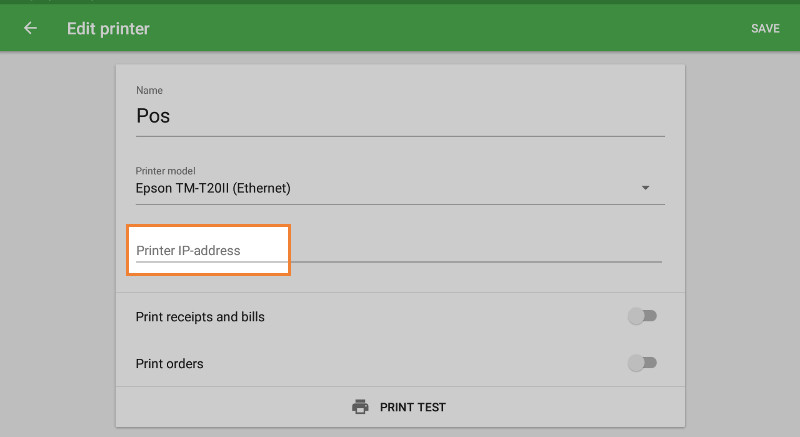
Fill in the ‘Printer IP-address’ field that you can find in your printer's network configuration report (details: Troubleshooting When Setting Up an Ethernet Printer).
Some printers have the ‘Search’ button to search for the IP address of your printer automatically. If your Ethernet printer has it, just tap it without filling in the ‘Printer IP-address’ field.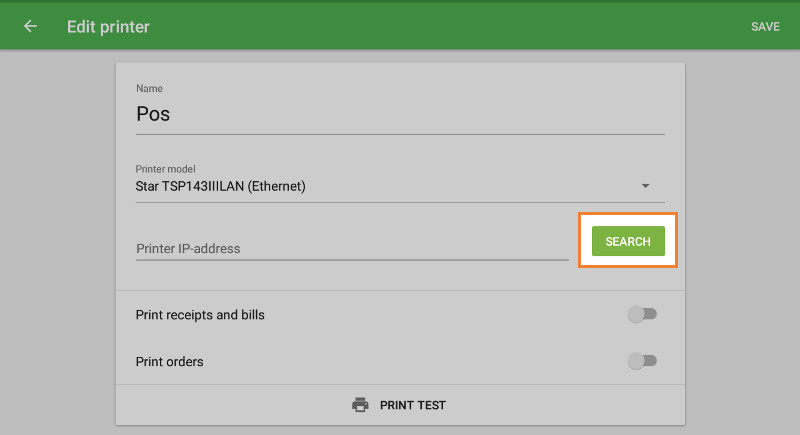
In the following pop-up window, you will see the search result with the printer model and its IP address. Tap on it to select the IP address and then close the window.

Tap the ‘Print test’ button to test your printer’s connection with the Loyverse POS app.
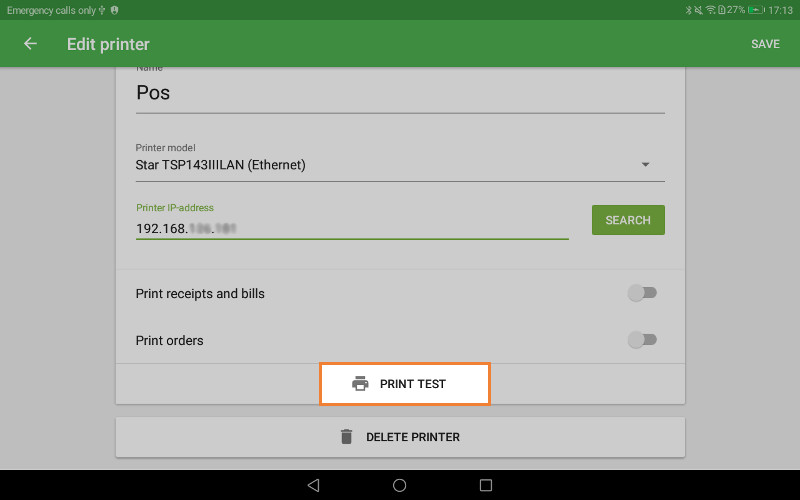
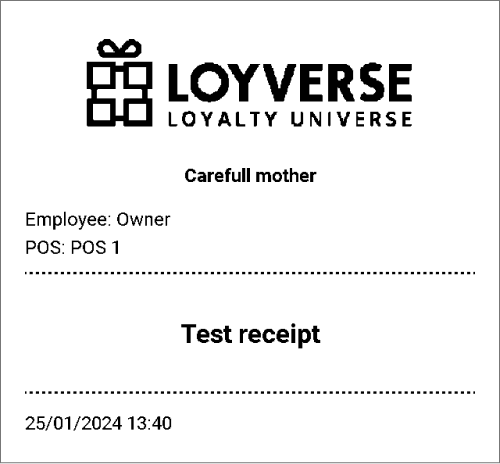
If a test receipt prints out successfully, then your printer is set up correctly.
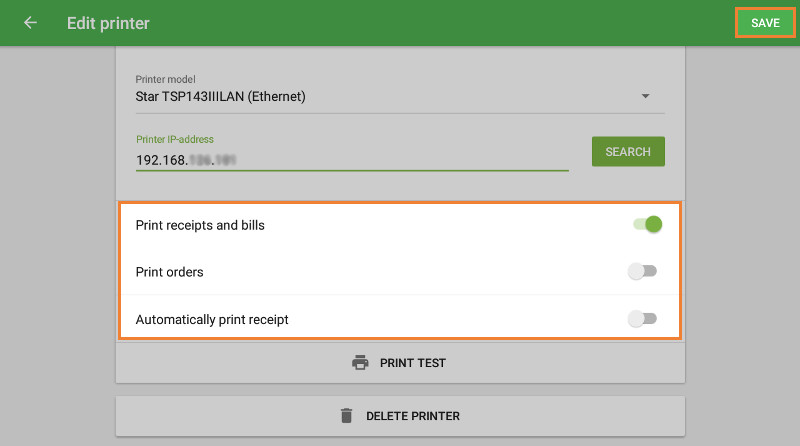
Сhoose the settings for your printer depending on how you want to use it. Don't forget to save all settings at the end by tapping the ‘Save’ button.
Now you can see your printer in the list. Nice work!

Note: Some Ethernet printers also have a WiFi interface. You can connect them to Loyverse via WiFi in the same way as via Ethernet.
The Star TSP 143III printer connects via WiFi and works on iOS and Android only with the Star Quick Setup Utility application installed on the device. Star Quick Setup Utility on iOS and Android.
See also:
Troubleshooting When Setting Up an Ethernet Printer
How to Set Up Other Printers in Loyverse POS on Android