Organize your inventory by adding items and grouping them into categories—all from your smartphone or tablet. Follow these simple steps to get started.
1. Open the Items Menu
Log in to the Loyverse POS app.
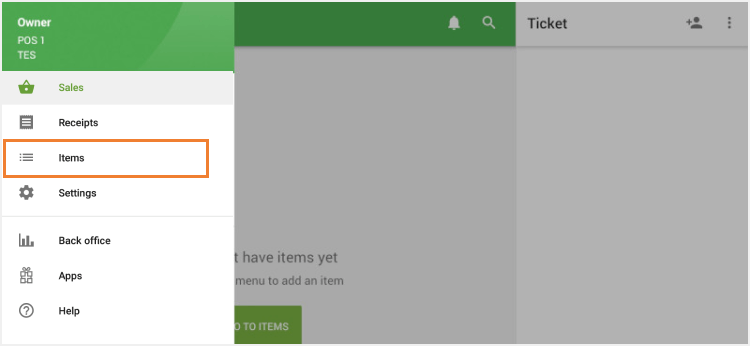
Tap the ☰ Menu icon in the top‑left corner.
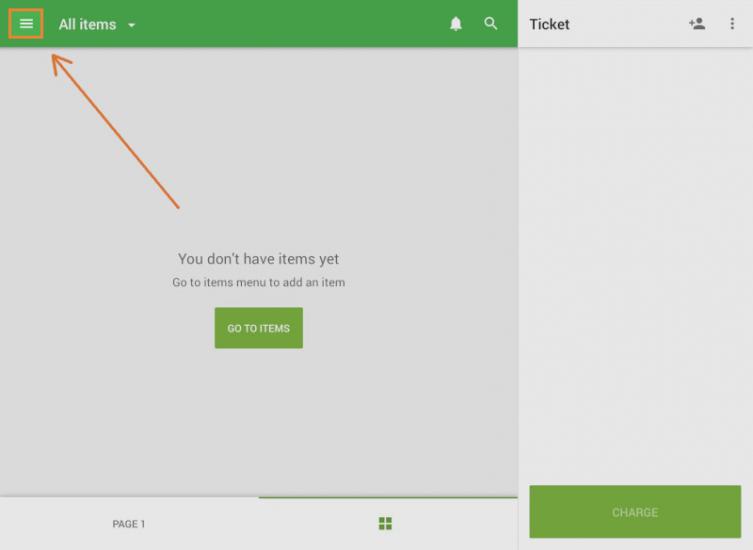
Select Items.
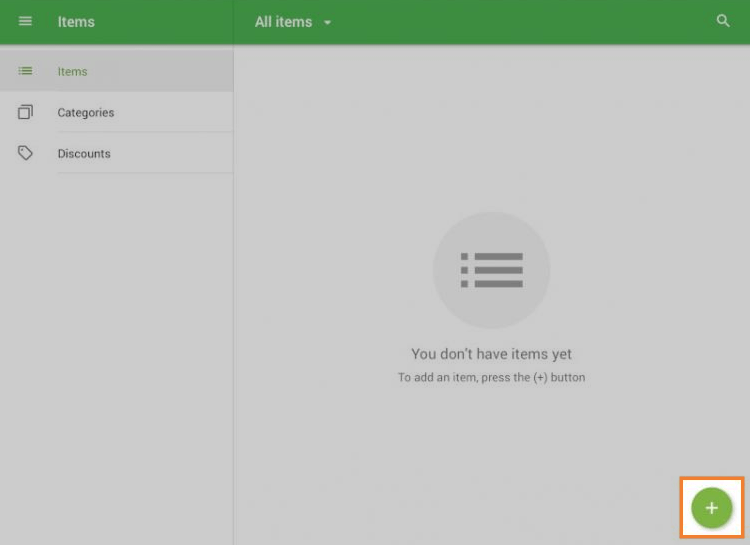
2. Add a New Item
In the Items screen, tap the ⊕ Add button (bottom‑right).
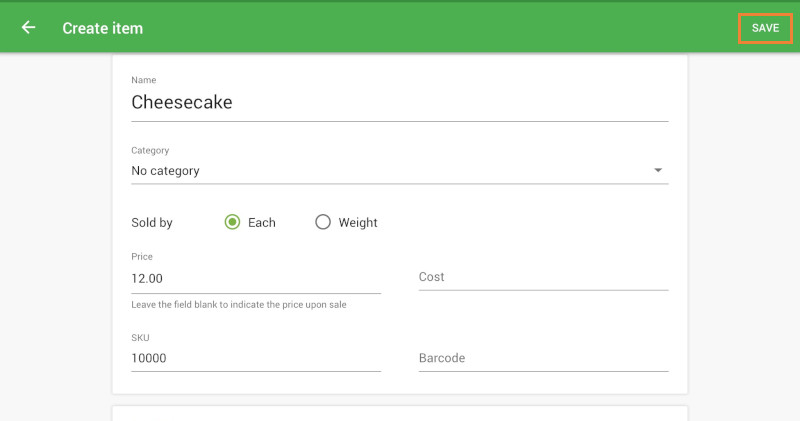
On the Create Item page, enter:
- Item Name
- Price
- Category (select an existing category, create a category, or leave blank to add later)
- SKU and Barcode
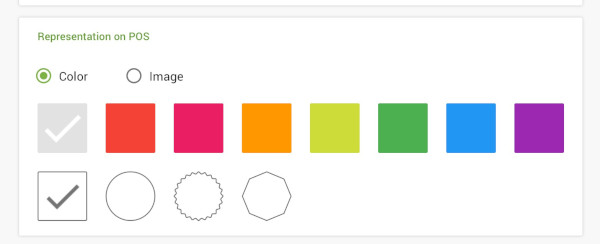
Customize the item’s appearance:
- Icon Color and shape
- Image—take a new photo or upload one from your gallery
Tap Save to add the item to your inventory.
3. Create or Manage Categories
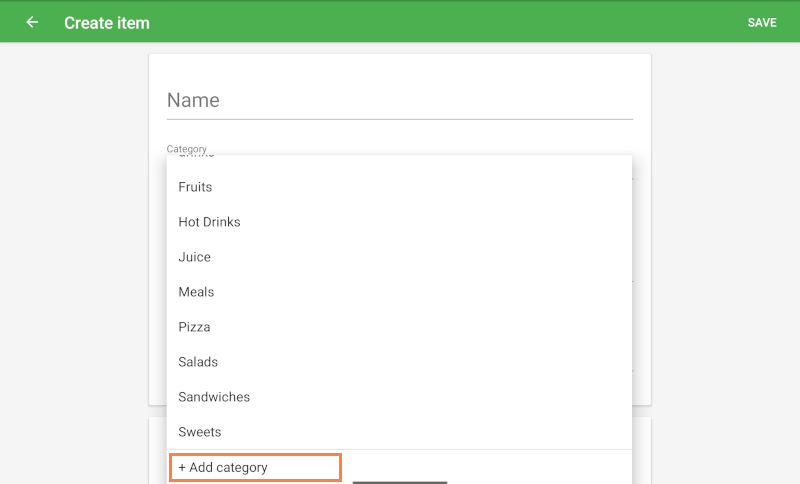
A. While Adding an Item
On the Create Item page, tap Category > Add Category, enter a name, and then tap Save.
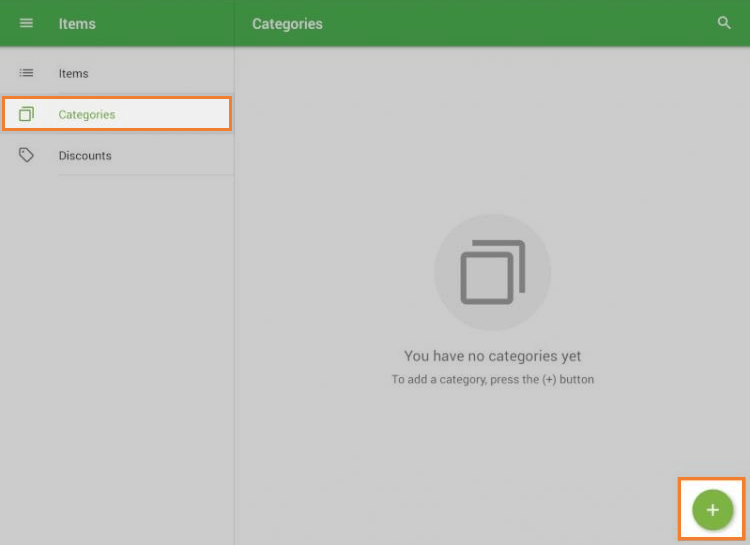
B. From the Categories Screen
In the Items menu, tap Categories.
Tap the ⊕ Add button (bottom‑right).
Enter:
- Category Name
- Color (for easy visual grouping on the sales screen)
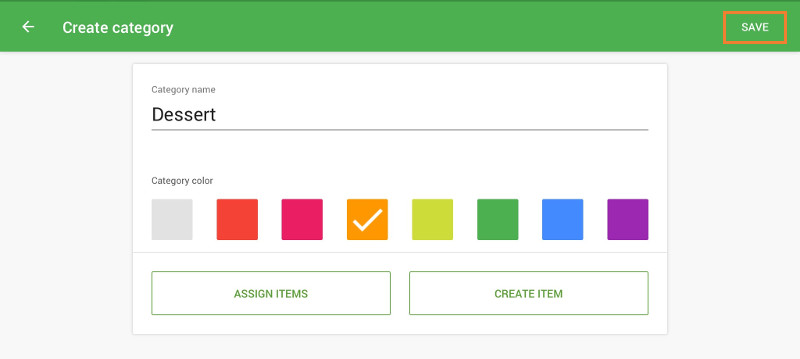
Tap Save.
4. Sync & Verify
Loyverse POS syncs in real time. Your new items and categories will immediately appear on all connected devices and in the Back Office.
To edit or delete items/categories, tap the item or category name in the list. The Delete button is at the bottom of the editing page.
5. Advanced Item Settings
For more advanced options, such as items with variants or composite items, log in to your Loyverse Back Office on the web. Changes made there will sync back to your POS app.
You’re all set! With items and categories organized, you can streamline your sales process and manage your inventory more effectively. Happy selling!
See also:
Working with the Items List in the POS