Before applying any discounts at the point of sale, make sure they are created and configured in the Back Office or the Loyverse POS app (Play Market or App Store).
Loyverse supports two types of discounts:
- Percentage Discounts – can be applied to individual items or the entire ticket.
- Amount Discounts – can be applied only to the entire ticket.
Applying a Discount to the Whole Ticket
Add items to the ticket from the sales screen.

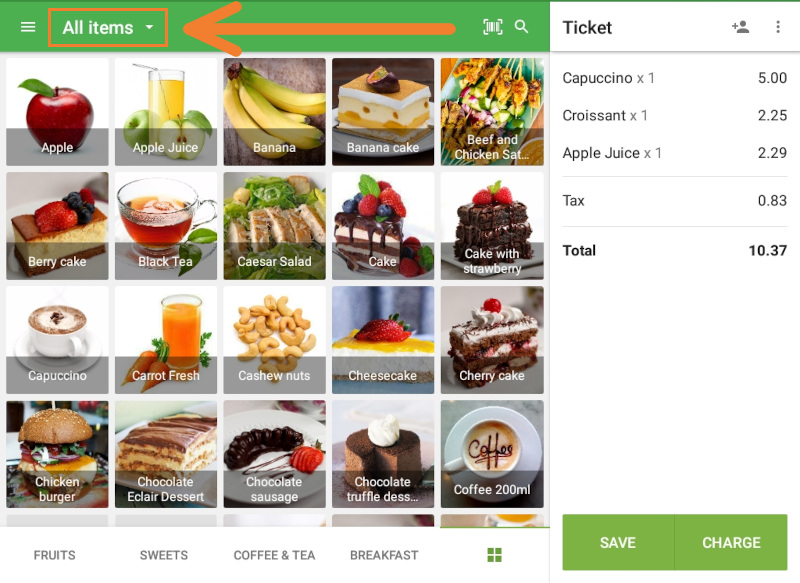
Tap the "All items" line at the top left of the ticket.
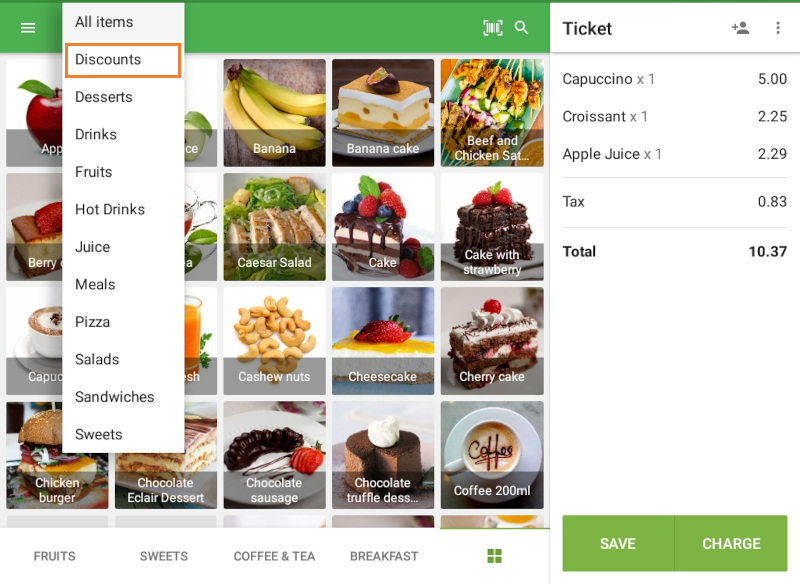
From the drop-down menu, select ‘Discounts’.
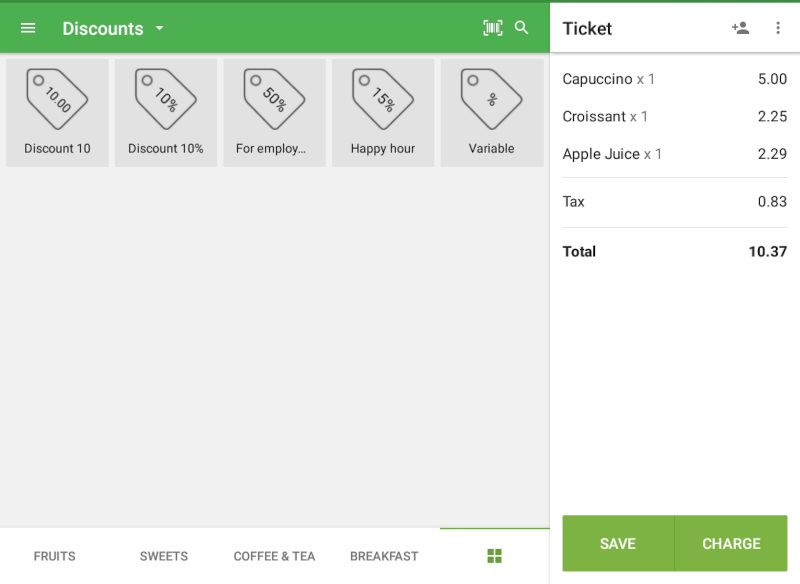
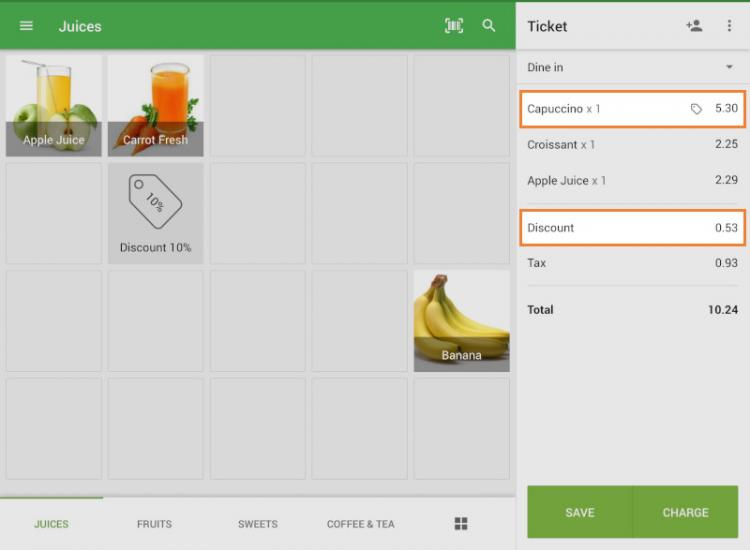
A list of your predefined discounts will appear. Tap the one you want to apply.
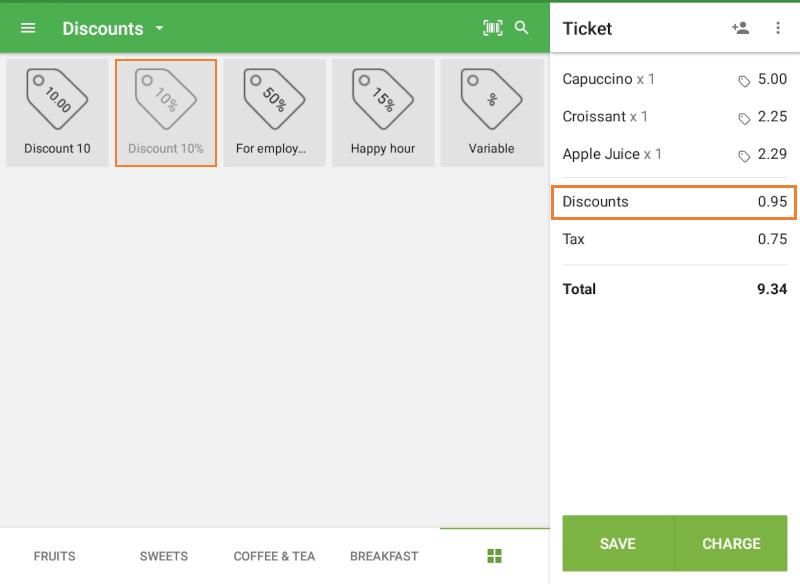
The discount will now be applied to the whole ticket and appear as a separate line.
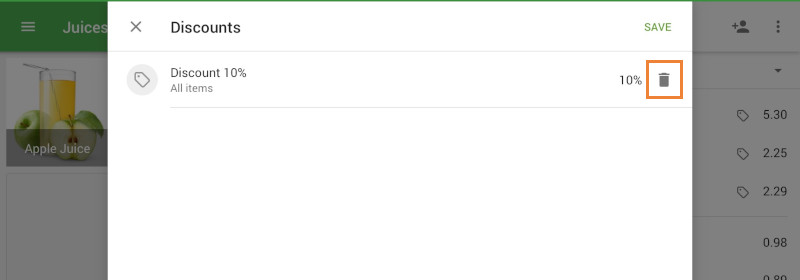
To remove the discount:
- Tap on the “Discount” line in the ticket.
- In the pop-up window, tap the trash bin icon to delete it.
Applying a Discount to a Specific Item
On the current ticket, tap the item you want to discount.
The item editing window will open.
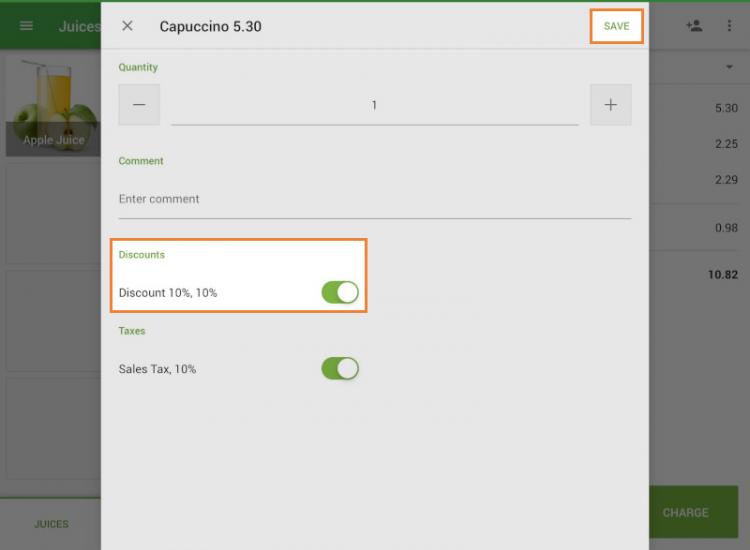
In the Discounts section, you’ll see a list of available discounts.
Toggle on the desired discount and tap ‘Save’.
The discount will be applied to that item only and shown next to it in the ticket.
Finalizing the Sale
After applying the discount(s), continue the checkout process as usual. The discounted amounts will be reflected in the final total.
Note: Discount Application Order
If multiple types of discounts are used during a sale—such as percentage discounts, amount-based discounts, and customer loyalty points—the system will automatically apply them in ascending order of value to ensure accurate calculation.
See also: