While adding items directly from the Loyverse POS app on your mobile device is quick and easy, using the Back Office provides access to more advanced item management features.
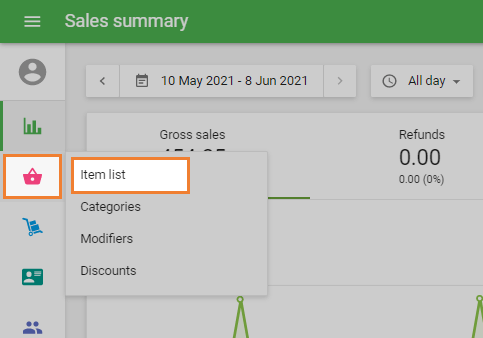
1. Access the Item List
Go to the ‘Item list’ menu in the Back Office.
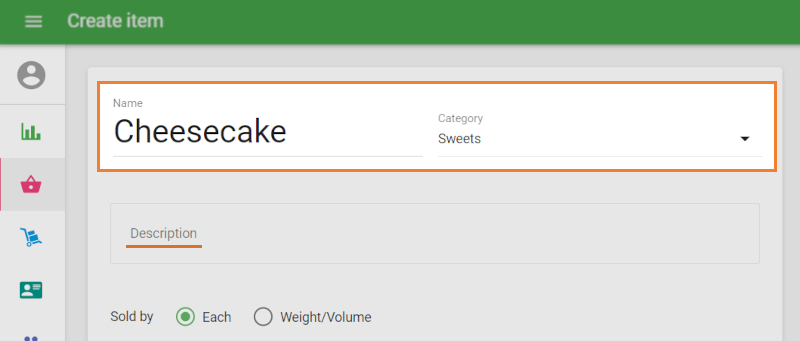
2. Create a New Item
Click the ‘Add item’ button.

In the ‘Create item’ form:
- Name – Enter the name of the item.
- Category – Select an existing category or create a new one.
- Description – Optional field used mainly for e-commerce and online ordering services connected to Loyverse. It can also be retrieved through the Loyverse API.
Additionally, the description becomes visible in the Loyverse POS app for items added to the ticket, which can help staff see extra details about the product during sales.
Note: The Description field is not available for editing in the Loyverse POS app and cannot be used for item searches there.
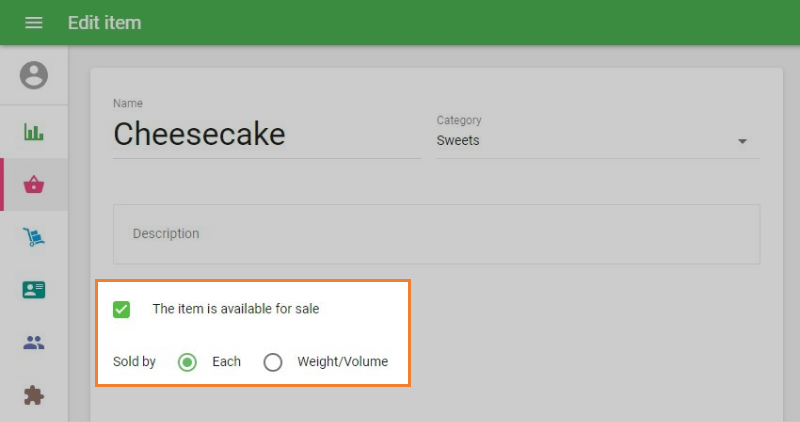
3. Availability and Sales Options
If you deselect the ‘The item is available for sale’ checkbox, the item will not appear on the POS sale screen. This is commonly used for components of composite items.
Sold by – Choose whether the item is sold by each (bottle, package, etc.) or by weight/volume (kilogram, liter, etc.).
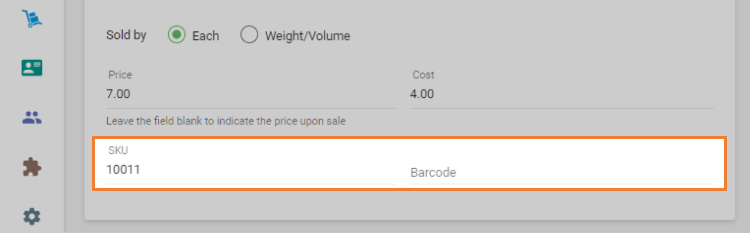
4. Pricing and Cost
Price – Enter the selling price. If left blank, you will need to enter a price at the time of sale.
Cost – Enter the purchase cost to enable reports on profit, margin, and other performance metrics.
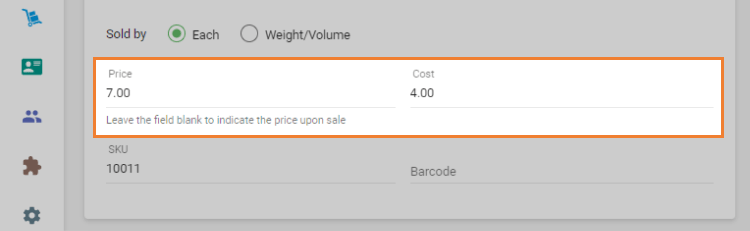
5. SKU and Barcode
SKU (Stock Keeping Unit) – Automatically generated, but you can set your own. It must be unique across all items, up to 40 characters, and can contain letters and numbers.
Barcode – Enter if applicable.
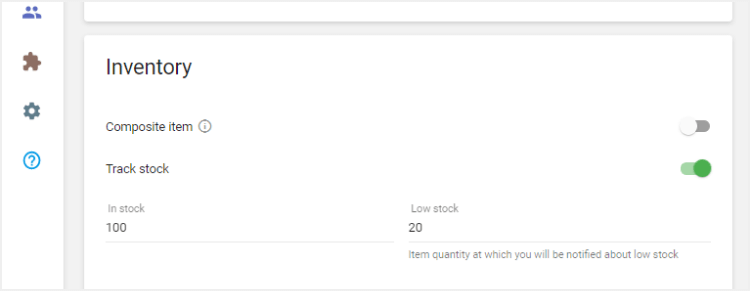
6. Inventory Settings
In the Inventory section, you can:
- Enable ‘Composite item’ if the product is made from other items.
- Enable ‘Track stock’ to manage stock levels and set low stock notifications.
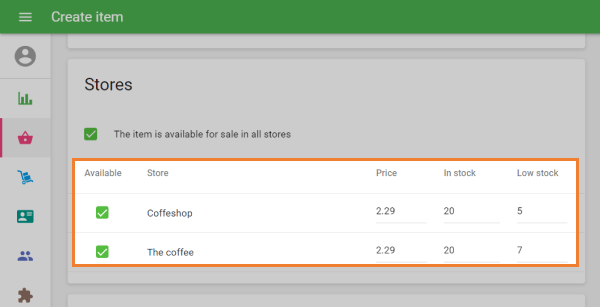
If you have multiple stores, you can customize per-store settings (price, in-stock quantity, and low stock) in the ‘Stores’ section.
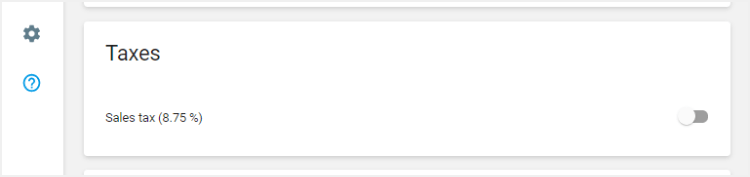
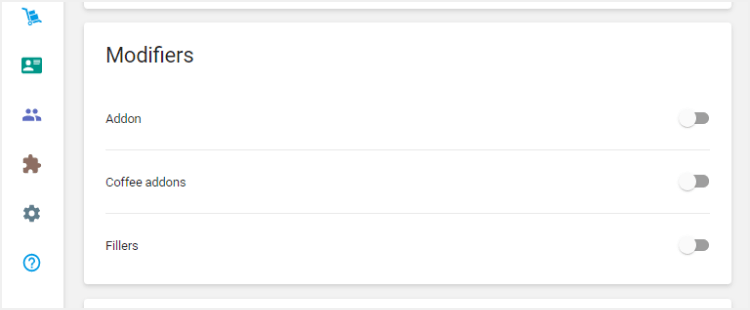
7. Tax and Modifiers
Tax – Assign applicable taxes.
Modifiers – Select modifiers if the item offers customization options.
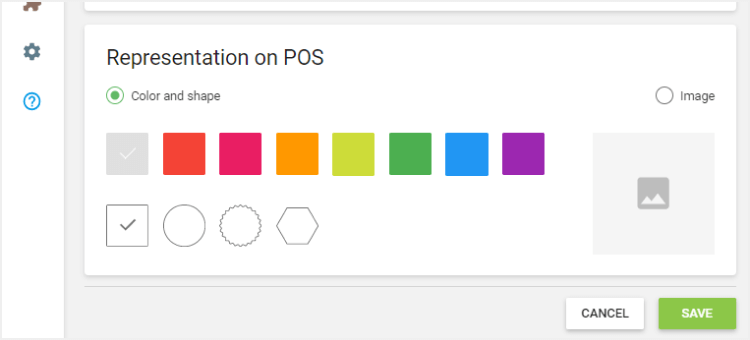
8. Appearance on POS
In the ‘Representation on POS’ section:
- Choose a color and shape for the item icon, or
- Upload an image.
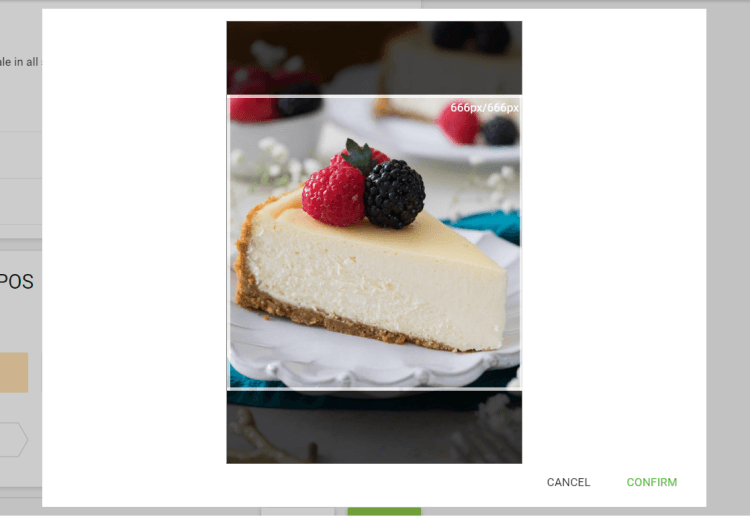
Note: Loyverse uses square images for item previews. If the uploaded image isn’t square, you’ll be prompted to crop it. Adjust the selection and click Confirm.
9. Save Changes
Once all details are entered, click Save to add the item.
See also: