Cancelling a receipt removes it from your sales reports and returns items to stock—ideal for reversing mistakes or test transactions. Follow the steps below to cancel receipts safely.
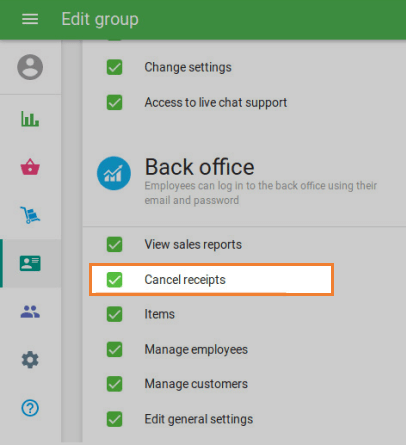
Who Can Cancel Receipts
Only users with the “Cancel receipts” permission can perform this action. By default, this right is granted to the Owner and Administrator roles.
When to Cancel a Receipt
- A sale or refund was entered by mistake
- You need to void a test transaction
Tip: If a receipt has an associated refund, cancel the refund receipt first, and only then cancel the original receipt.
Step‑by‑Step Guide
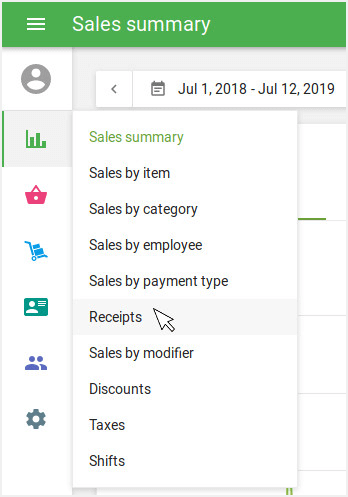
1. Open Receipts List
In your Back Office, navigate to Reports > Receipts.
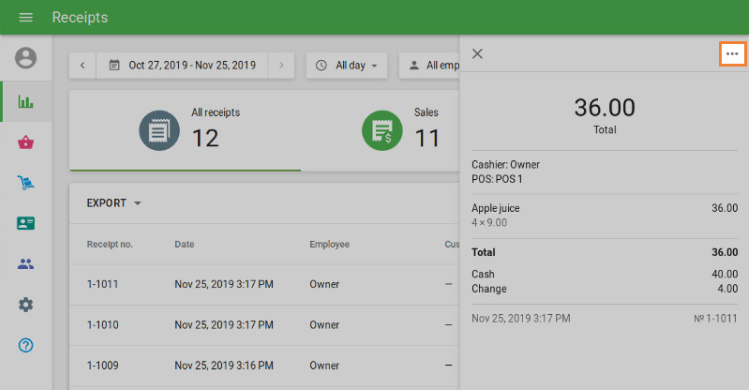
2. Select the Receipt
Click on the receipt you wish to cancel to view its details.
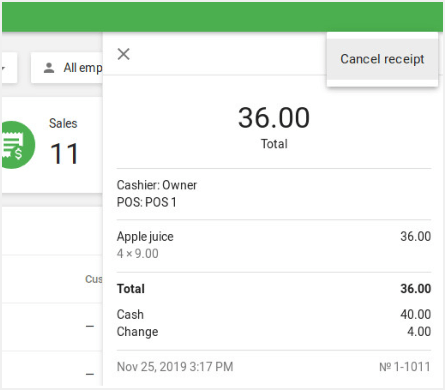
3. Initiate Cancellation
In the receipt‑detail view, click the ••• menu (upper right) and choose Cancel receipt.
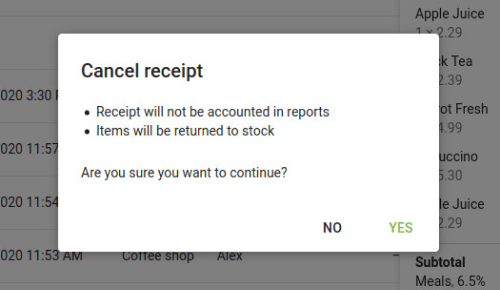
4. Confirm Cancellation
In the confirmation dialog, click Yes to proceed.
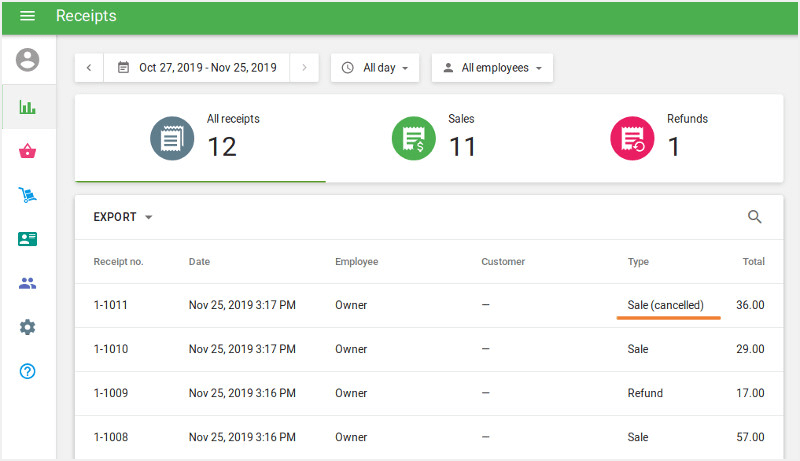
5. Verify Cancellation
The receipt will now be flagged as Cancelled in the list.
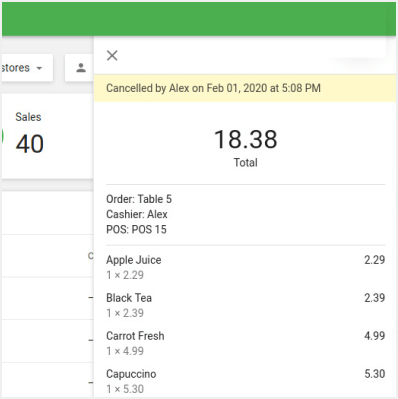
In the receipt details, you’ll see who cancelled it and the timestamp.
What Happens After Cancellation
Reporting: Cancelled receipts are excluded from all reports and both open and closed shifts.
Inventory:
- Regular sales receipts: Items are returned to stock.
- Refund receipts: Items are deducted from stock (reversing the refund).
Important Notes
- Irreversible: Once cancelled, a receipt cannot be restored.
- Refunds: Cancelling a receipt does not refund integrated card payments to the customer’s card—those must be handled separately.
- Dependent Transactions: You cannot cancel a receipt that has an active refund—you must cancel the refund receipt first.
By following these steps, you can ensure your sales data stays accurate and your inventory levels remain correct.
See also: