Inventory Count is a part of the Advanced inventory management and is available only to those users who have subscribed to this functionality.
Inventory Count functionality allows to:
- reconcile the expected and actual inventory for all or selected items;
- see the amount of inventory loss or surplus inventory;
- keep documents for each inventory.
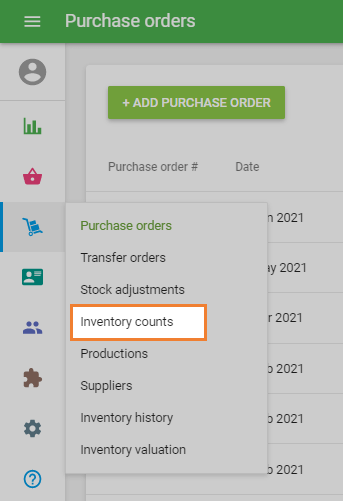
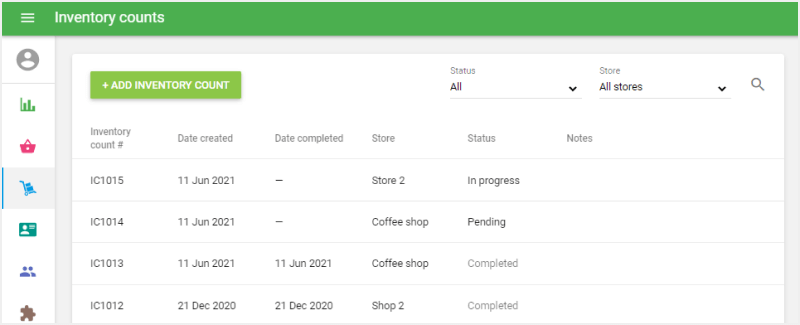
Go to the ‘Inventory Count’ section in the ‘Inventory management’ menu.
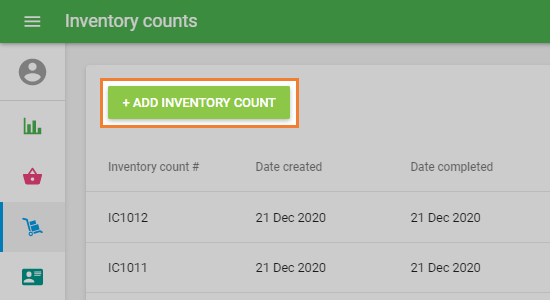
To create an inventory count, click on the ‘+ Add inventory count’ button.
The form ‘Create inventory count’ will open for editing.
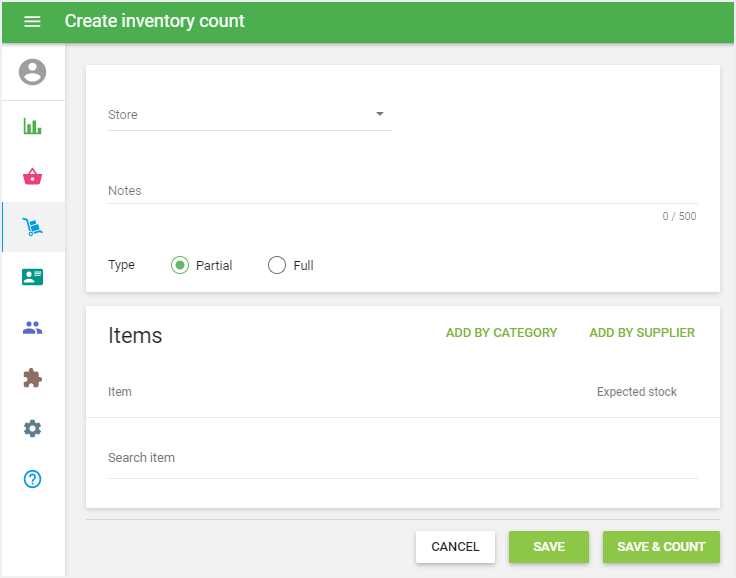
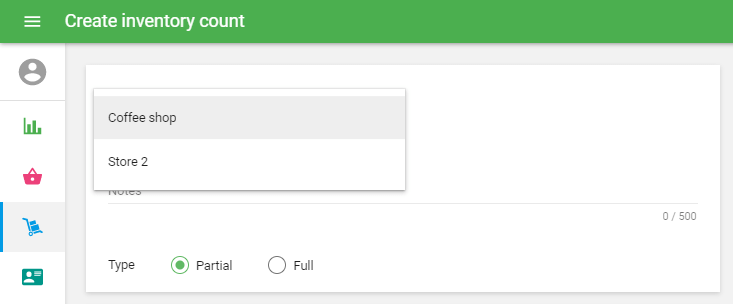
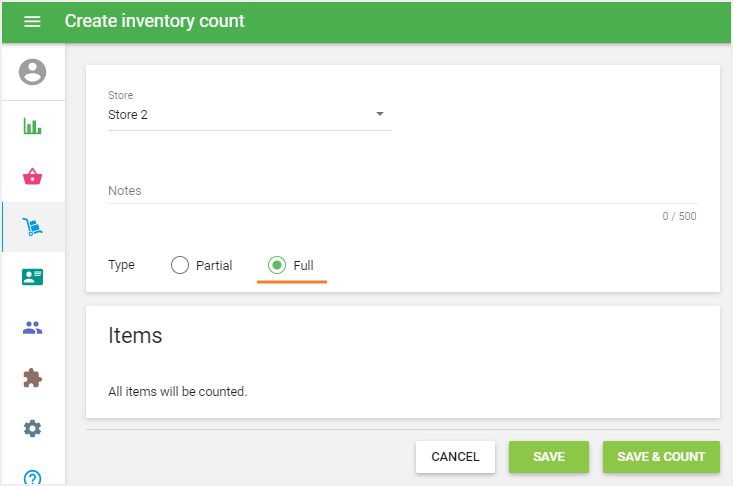
Select the store from the drop-down list where you would like to perform the inventory count. You can also make notes in the ‘Notes’ field.
Then choose the type of your inventory count: ‘Partial’ or ‘Full’.
For a Full inventory count, you do not need to choose the items for the count, because all items in the system whose ‘track stock’ option is enabled will be automatically added to the document.
For a Partial inventory count, you have to add the items to the count manually. You can add items to the list one by one in the ‘Search Item’ field, or you can add a whole category by clicking on the ‘Add by category’ button, as well as adding all items assigned to a certain supplier by clicking on the ‘Add by supplier’ button.
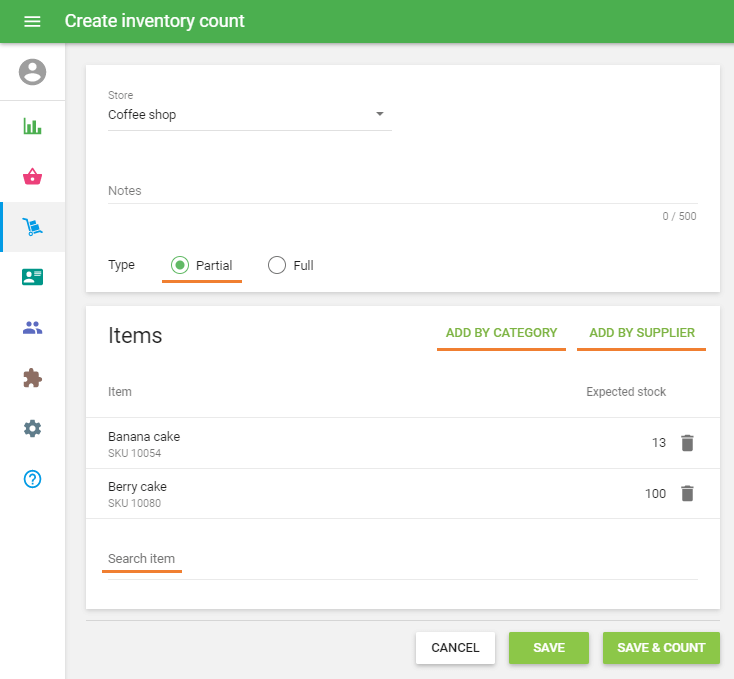
Please note that when adding items to the list, you will not see composite items and items whose track stock option has been disabled. If the product contains variants, then all the variants are displayed in separate rows.
You will see the current stock information of the chosen items in the selected store in the ‘Expected stock’ column.
Click on the ‘Save’ button to make an Inventory count document, or ‘Save & count’ to make a document and start the inventory count.
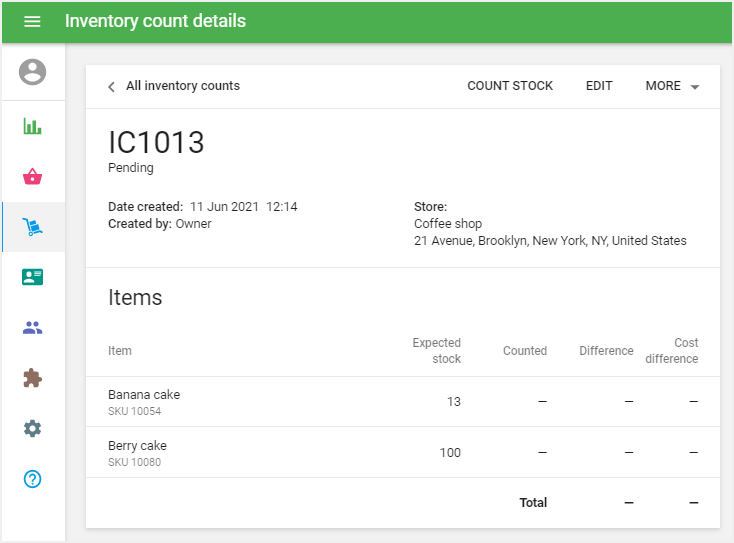
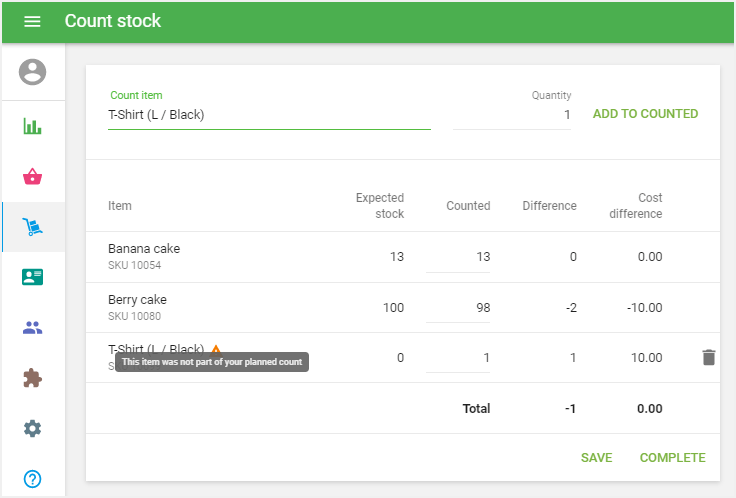
By clicking on the ‘Count stock’ button, you can start the counting process.
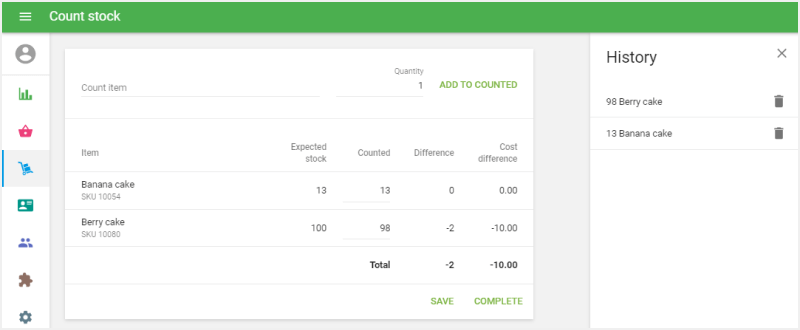
You can enter the counted quantity in two ways:
1. Search and select the item in the ‘Count item’ field, specify its quantity, then click ‘add to counted’. For your convenience, you can also add it with a barcode scanner by scanning the item barcode as many times as its quantity in stock (each action will be displayed in the history). It may be useful when you count the items by blocks: for example, if there are 10 pieces in one block, you can scan the barcode 10 times or enter the number ‘10’ in the ‘Quantity’ field.
2. Fill in the quantity of the items in the ‘Counted’ column.
If you add an item that is not in the inventory list, either by typing it in in the ‘Count item’ field or scanning the item barcode, the system will warn you about this with a yellow icon and the message: “This item was not part of your planned count. You can delete it or proceed”.
You will see the history of quantity changes on the right side of the screen. Therefore, you can cancel the wrong entries at any time.
The system automatically saves your count every 30 seconds to prevent data loss.
You can save your count to the document with the ‘Save’ button to proceed with the count later. ‘Complete’ button will activate the ‘Confirm inventory count’ window. Click on ‘Confirm count’ to finish the count.
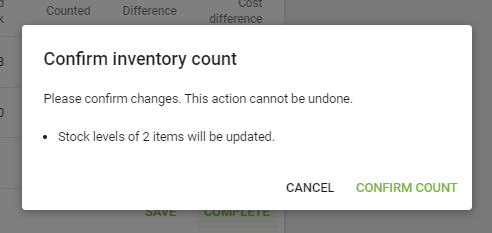
Afterward, the stock of the counted items will be updated according to the count.
Inventory counts can have 3 different statuses: Pending, in Progress, and Completed.
See also:
Advanced Inventory Management Overview
How to Work with Purchase Orders and Suppliers
How to Work with Transfer Orders
How to Work with Stock Adjustments