Your Loyverse Back Office is the web-based control center that syncs seamlessly with your Loyverse POS app(Play Market or App Store). Follow these steps to configure your shop and get up and running quickly.
1. Recommended Browser
For the best experience, use Google Chrome when accessing the Back Office.
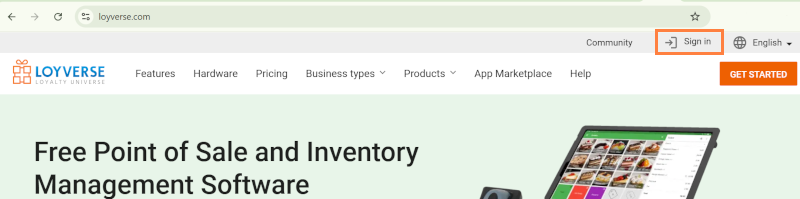
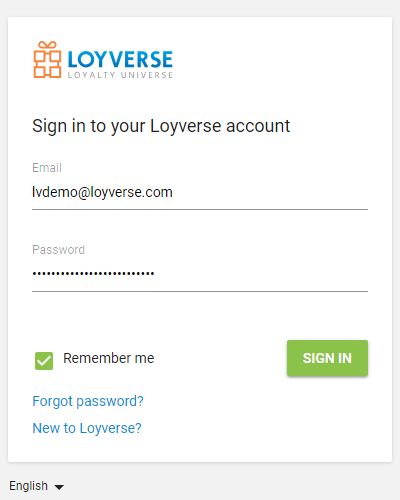
2. Log In to Back Office
Go to the Loyverse website.
Click SIGN IN in the top-right corner.
Enter the email and password you registered with.
3. Access System Settings
In the left-hand menu, click the Settings (⚙️) icon.
Under System settings, select Features.

4. Enable Key Features
In the Features section, toggle on any options you need for your business:
- Shifts
- Time clock
- Open tickets
- Kitchen printers
- Customer displays
- Dining options
- Low stock notifications
- Negative stock alerts
- Weight‑embedded barcodes
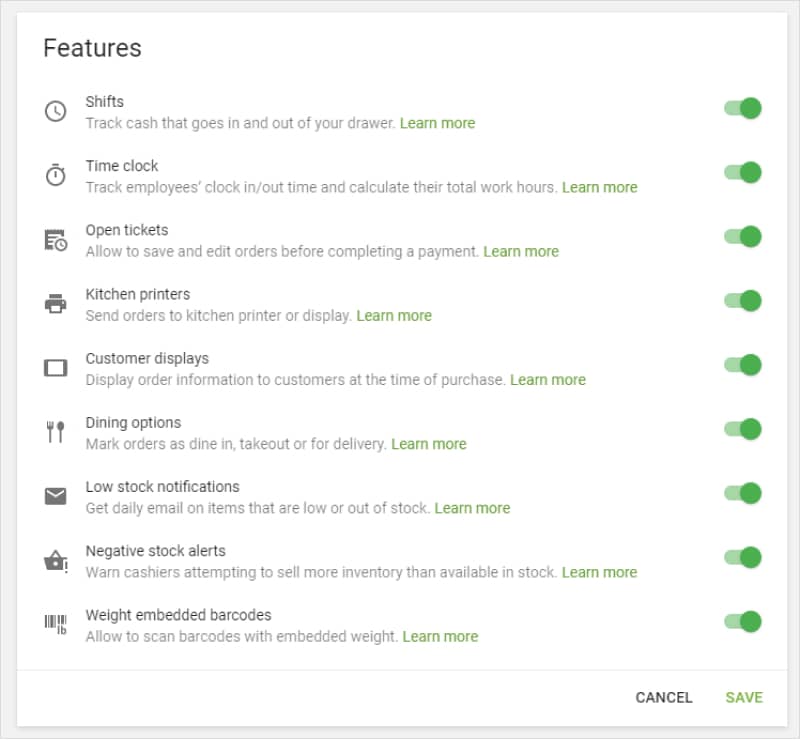
Once you’ve selected your features, click Save.
5. Configure Store Information
In the Settings menu, select Stores.
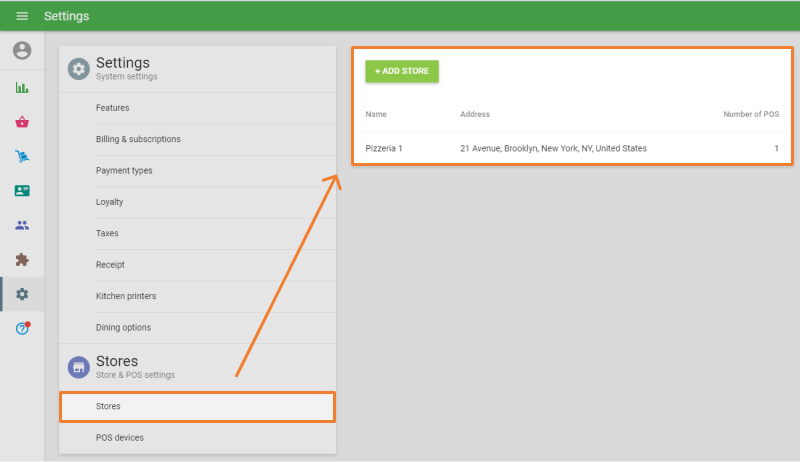
Click Add Store (or select an existing one) and fill in:
- Store name
- Address
- Phone
- VAT number
- Description
This information will appear on the store receipts.
Click Save.
Tip: If you operate multiple locations, repeat this step for each store.
6. Add POS Devices
Under Stores, choose POS Devices.
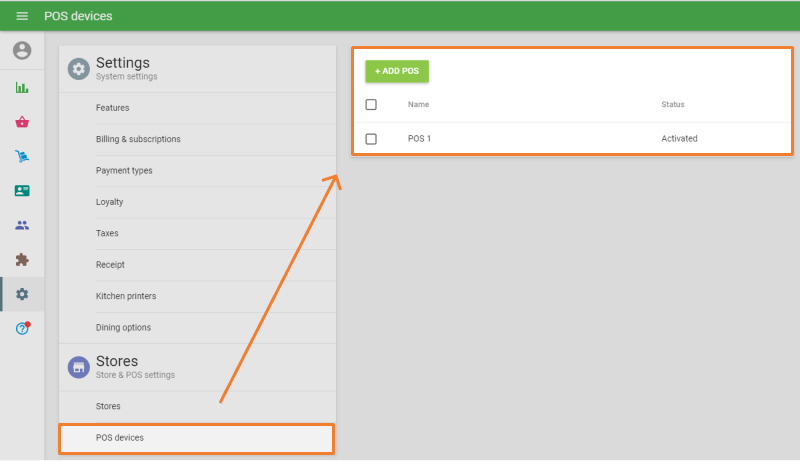
Click Add POS.
Enter a name for the register (e.g., “Front Counter”) and assign it to the appropriate store.
Click Save.
Note: Each POS you add here will be available to connect in your Loyverse POS app.
7. Next Steps in the POS App
With your Back Office setup complete, switch to the Loyverse POS app to:
Your Back Office and POS app work together in real time—any changes you make online will appear instantly on your devices. Enjoy managing your shop more efficiently with Loyverse!
See also:
How to Manage Account Settings in the Back Office
How to Add Logo to the Receipts
How to Change/Recover Your Password for the Back Office